Yang sebenarnya penting untuk kita set satu penanda aras atau benchmark. Apa tu penanda aras? macam ni lah, kalau korang ada idola dalam dunia photography, korang usaha kearah untuk jadikan hasil kerja korang untuk jadi seperti idola korang. Pada aku, tak mengapa untuk ikut hasil kerja orang lain sebabnya lama-kelamaan korang akan ada signature style korang sendiri.
Masa aku mula-mula menjinakkan diri dalam dunia photography, aku dikenalkan oleh Cikgu Dollah dengan beberapa photographer asia yang boleh dijadikan sebagai benchmark. Aku amat tertarik dengan hasil kerja Widjita Raya Muliyadi dari Indonesia, Manny Librodo dari Filipina, Rarindra Prakash & Kevin Pinardy yang juga dari Indonesia. Mereka-mereka ni setiap tahun akan buat kelas di Malaysia. Kalau korang ada duit lebih, boleh lah join kelas.
Masalahnya aku ni bukannya ada duit banyak sangat & waktu tu aku ada kesedaran diri bahawa kalau nak belajar teknik shoot dan editing mereka-mereka ini aku kena tahu asas photography serta asas photoshop. Kalau takat guna preset lightroom, tak cukup rasanya. Sifat semulajadi aku, kalau aku mau sesuatu aku akan berusaha bersungguh-sungguh untuk dapatkannya.
Aku bagi diri aku masa untuk self-explore teknik-teknik shoot dan editing yang digunakan oleh photographer benchmark aku. Betul lah akan ambil masa yang lama tapi yang pasti ilmu yang aku gunakan aku boleh kongsi bersama rakan-rakan aku. Insyaallah, aku akan buat kelas satu hari nanti dengan syarat mesti kena ada pengetahuan asas masking.
Untuk hasilkan artwork macam ni kena banyak bersabar. ILMU tu penting tak kira samada ilmu photography mahupun ilmu editing. Kena buka minda dan kena berani keluar dari zon selesa. Aku kenal beberapa photographer yang dah shoot lebih 3tahun tapi tak mahu belajar photoshop langsung, susah katanya. Tapi, individu yang sama nak hasilkan artwork macam aku selalu buat.
Ada jugak yang bangga dengan hasil editingnya, padahal dari pengalaman aku individu tu hanya guna preset lightroom semata-mata. Retouch tadak langsung, muka berjerawat, clarity berlebihan, lepas tu canang sana-sini kononnya dirinya tu expert portrait. Serabut pulak aku tengok.
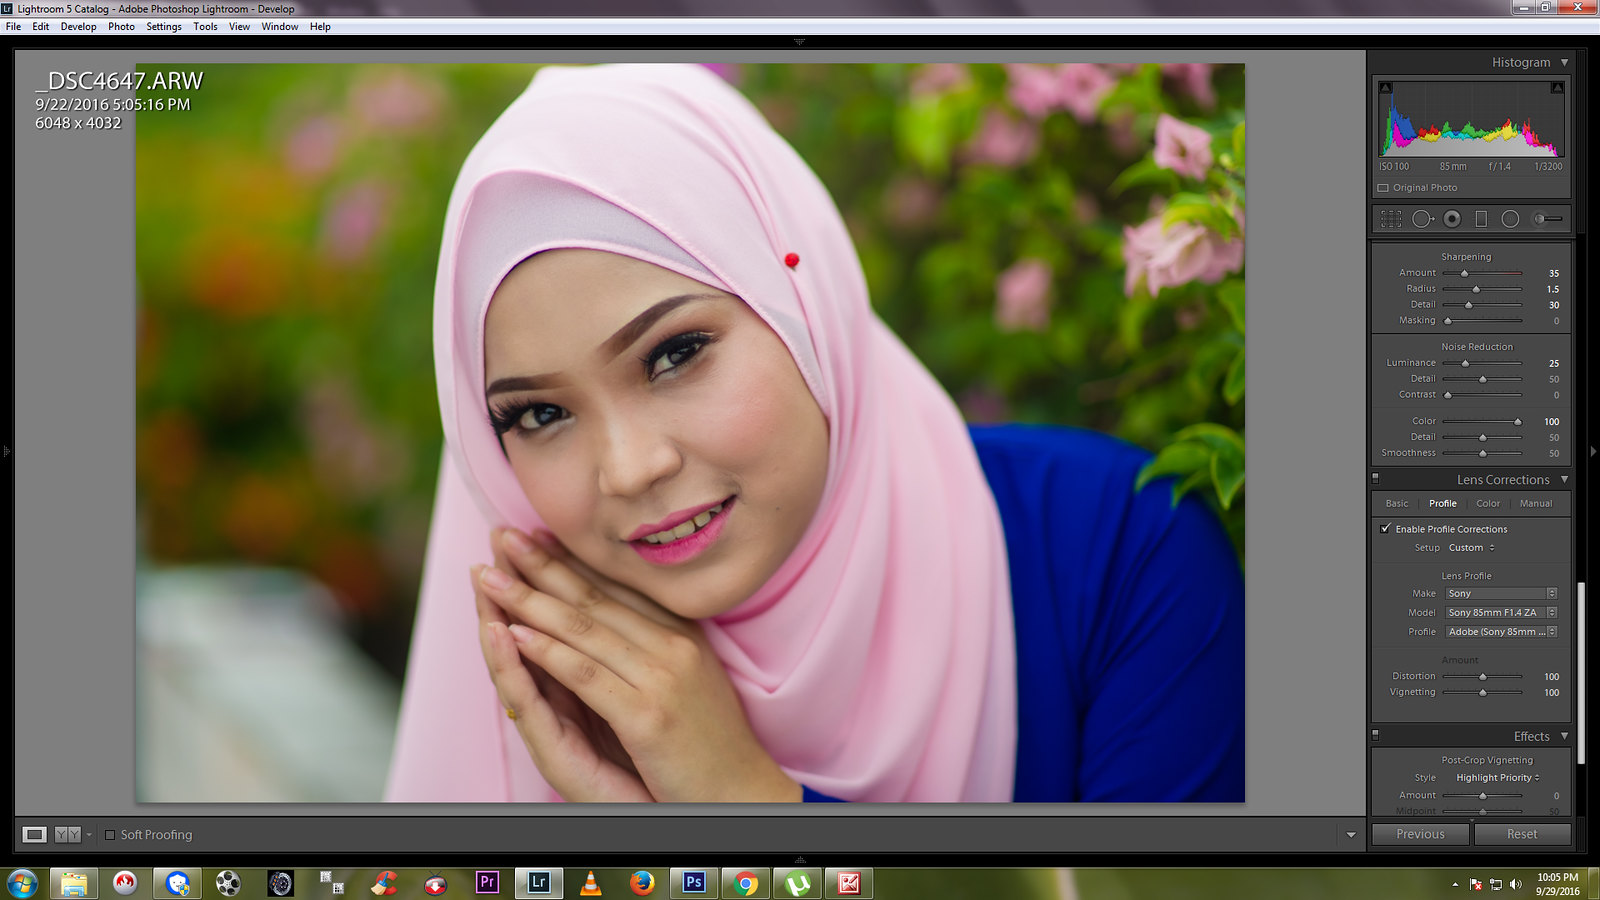
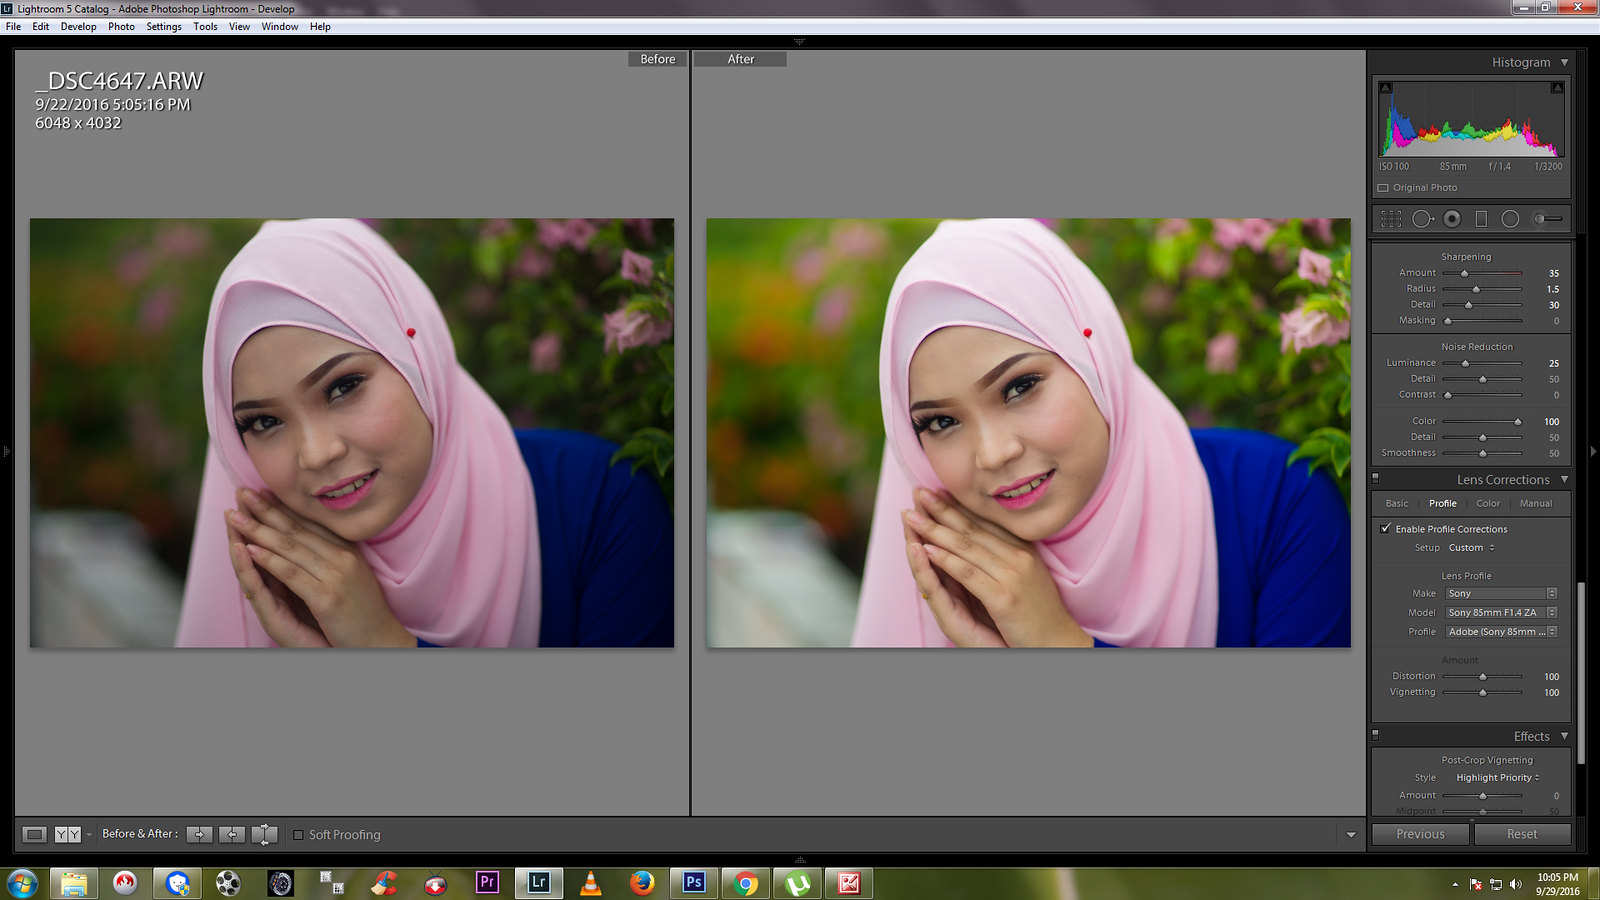
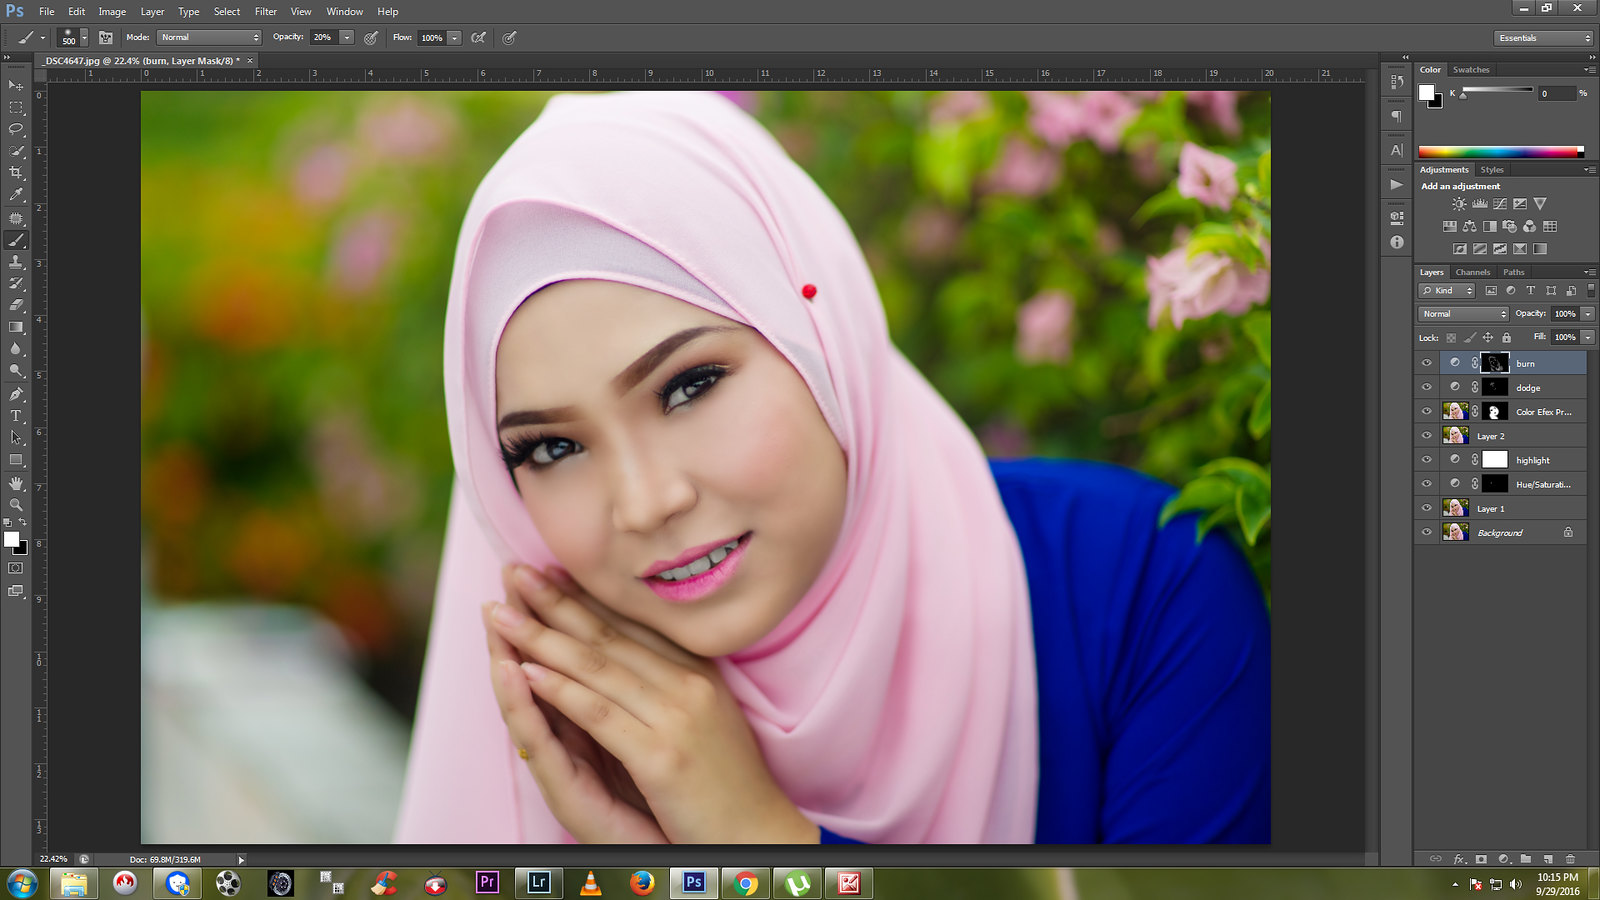
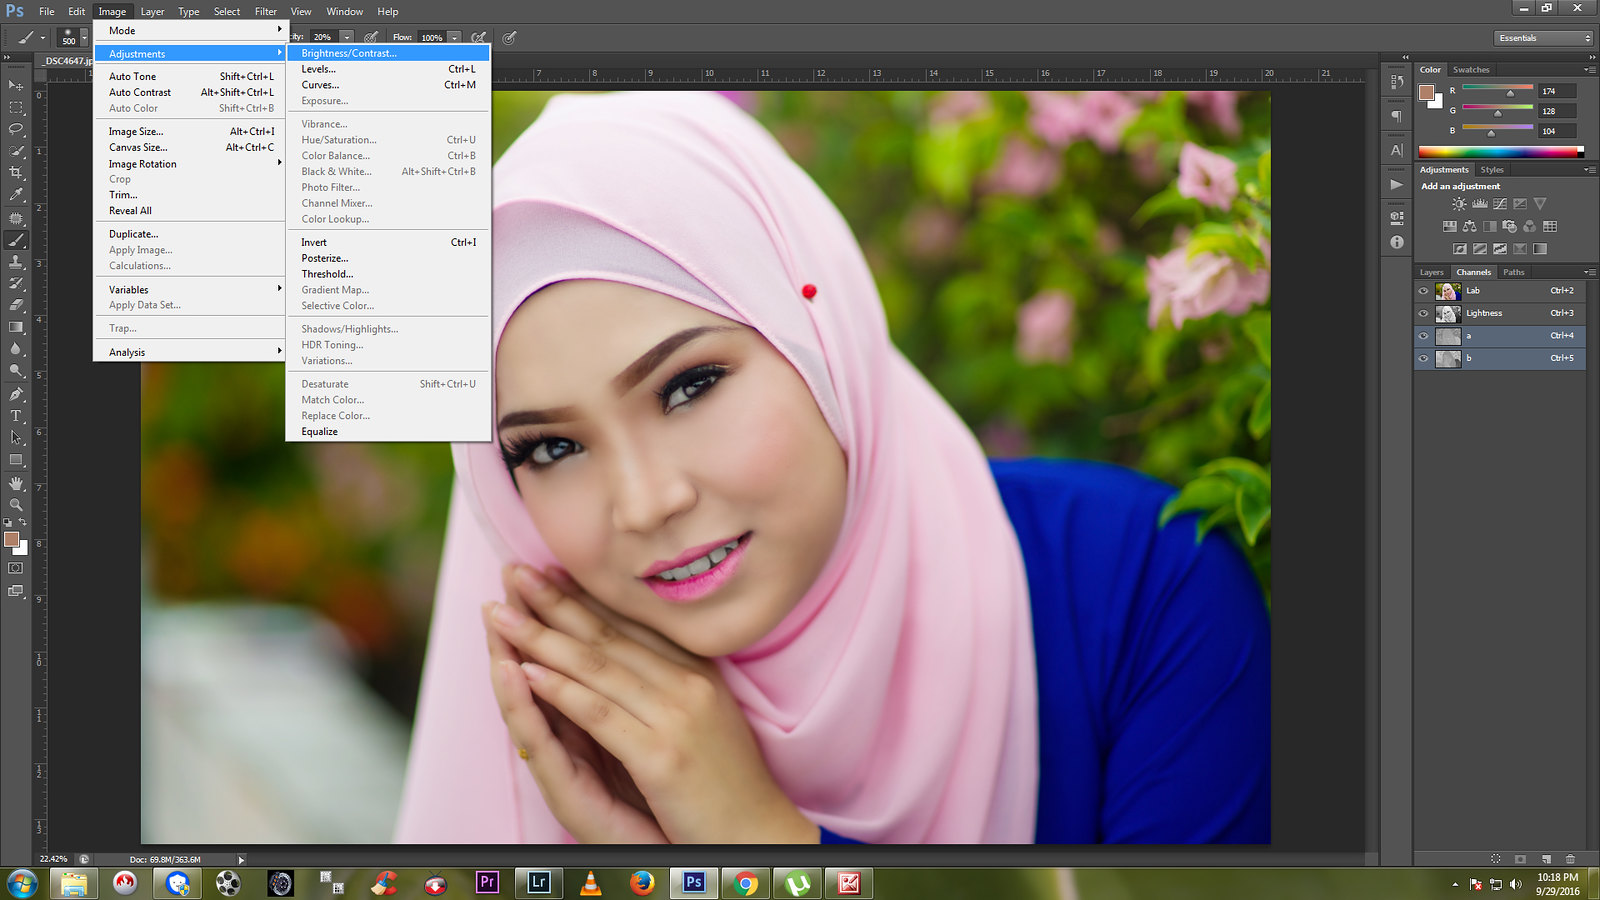
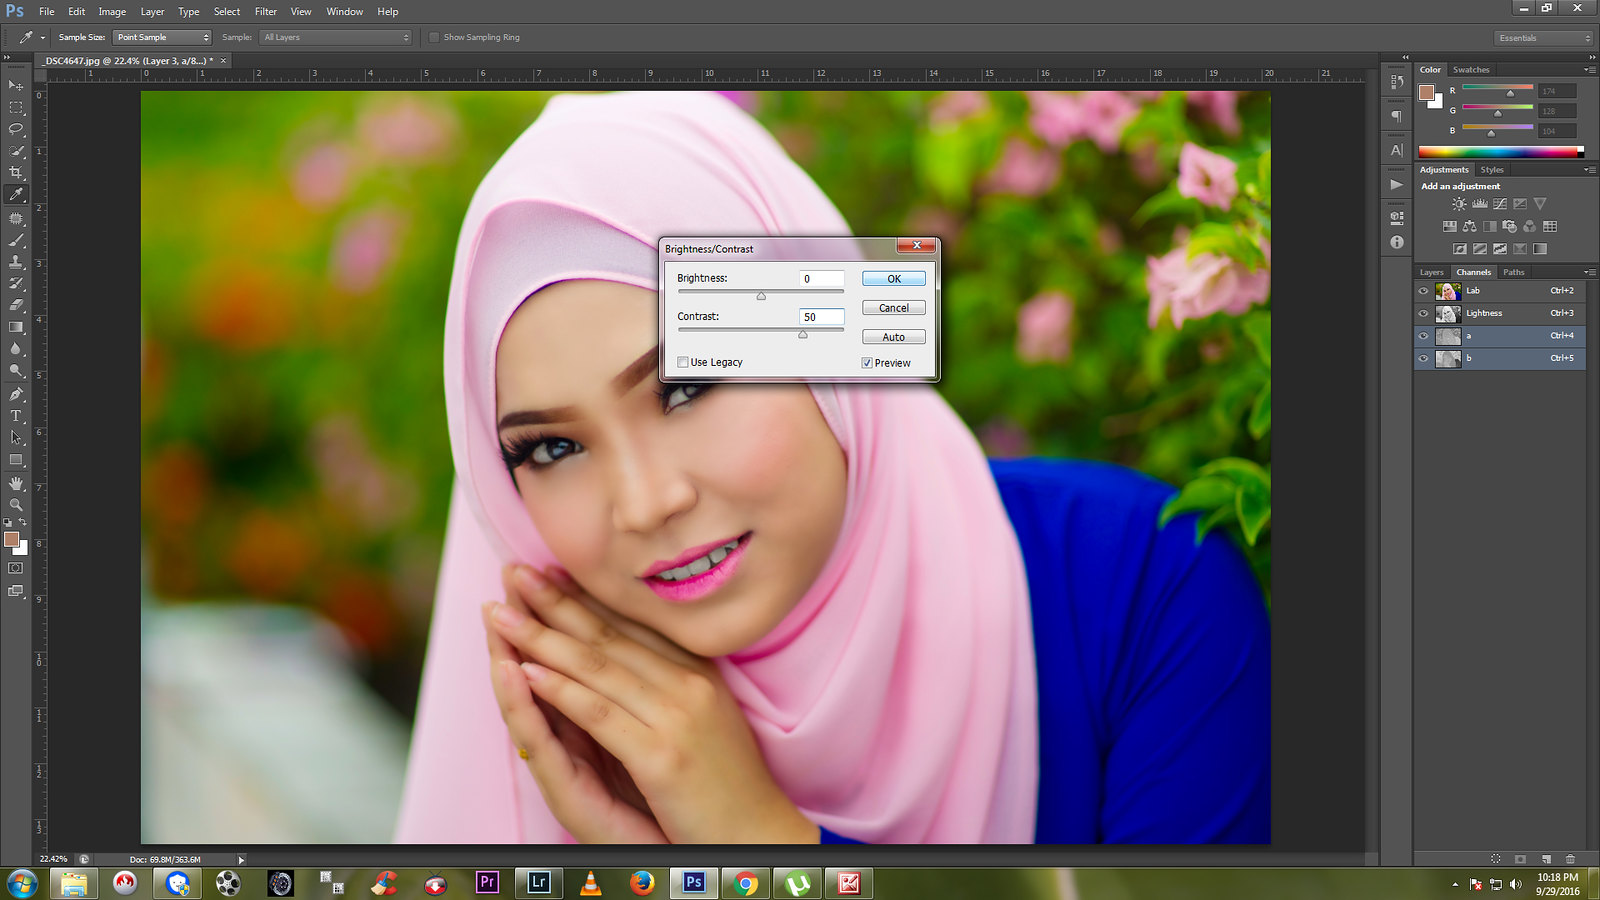
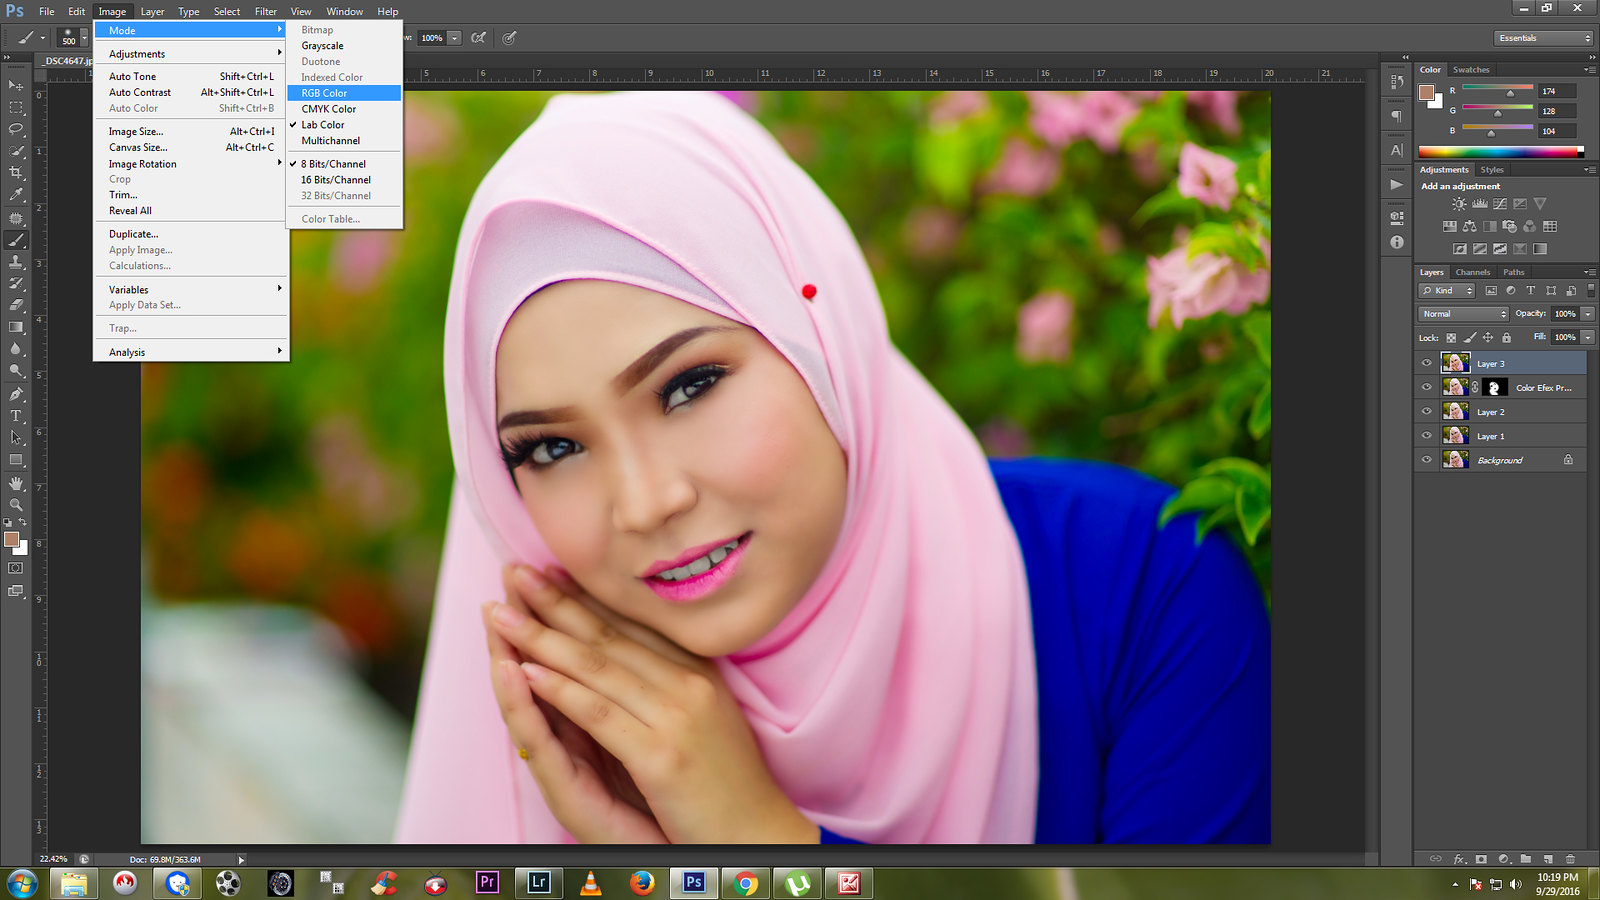
Aku pun guna jugak preset tapi aku akan retouch dan pastikan gambar model tu nampak kemas dan cantik. Baru lah model tu tak kisah nak repeat dengan kita. Kalau guna preset semata-mata tapi tak tahu baca histogram, curves etc...etc... tak guna jugak. Sama macam aku shoot guna phone lepastu aku apply vsco takpun preset instagram.
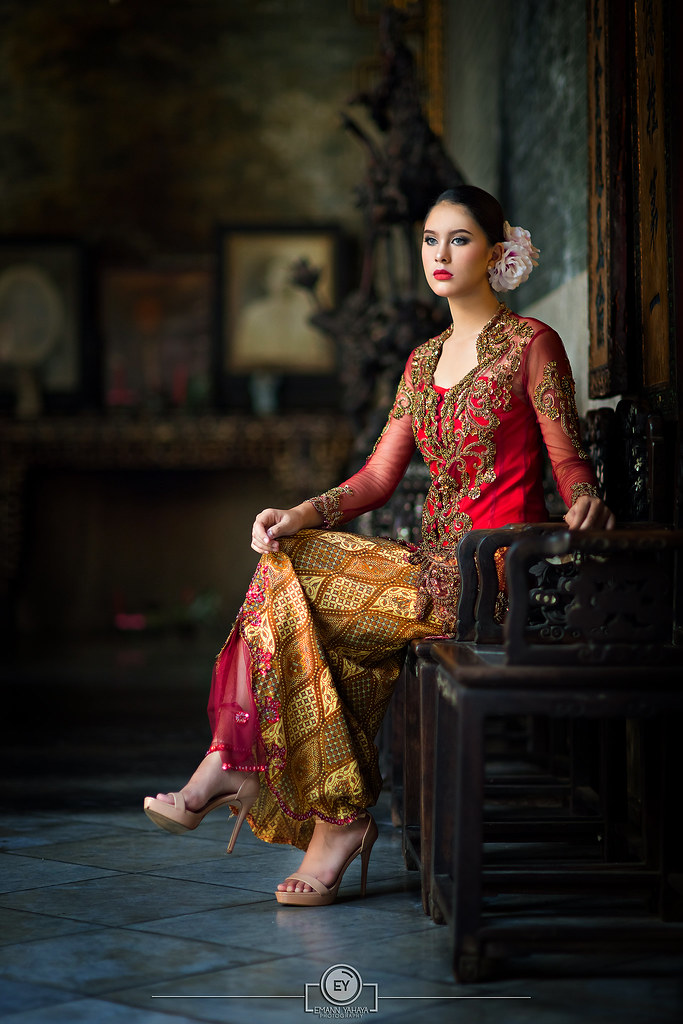
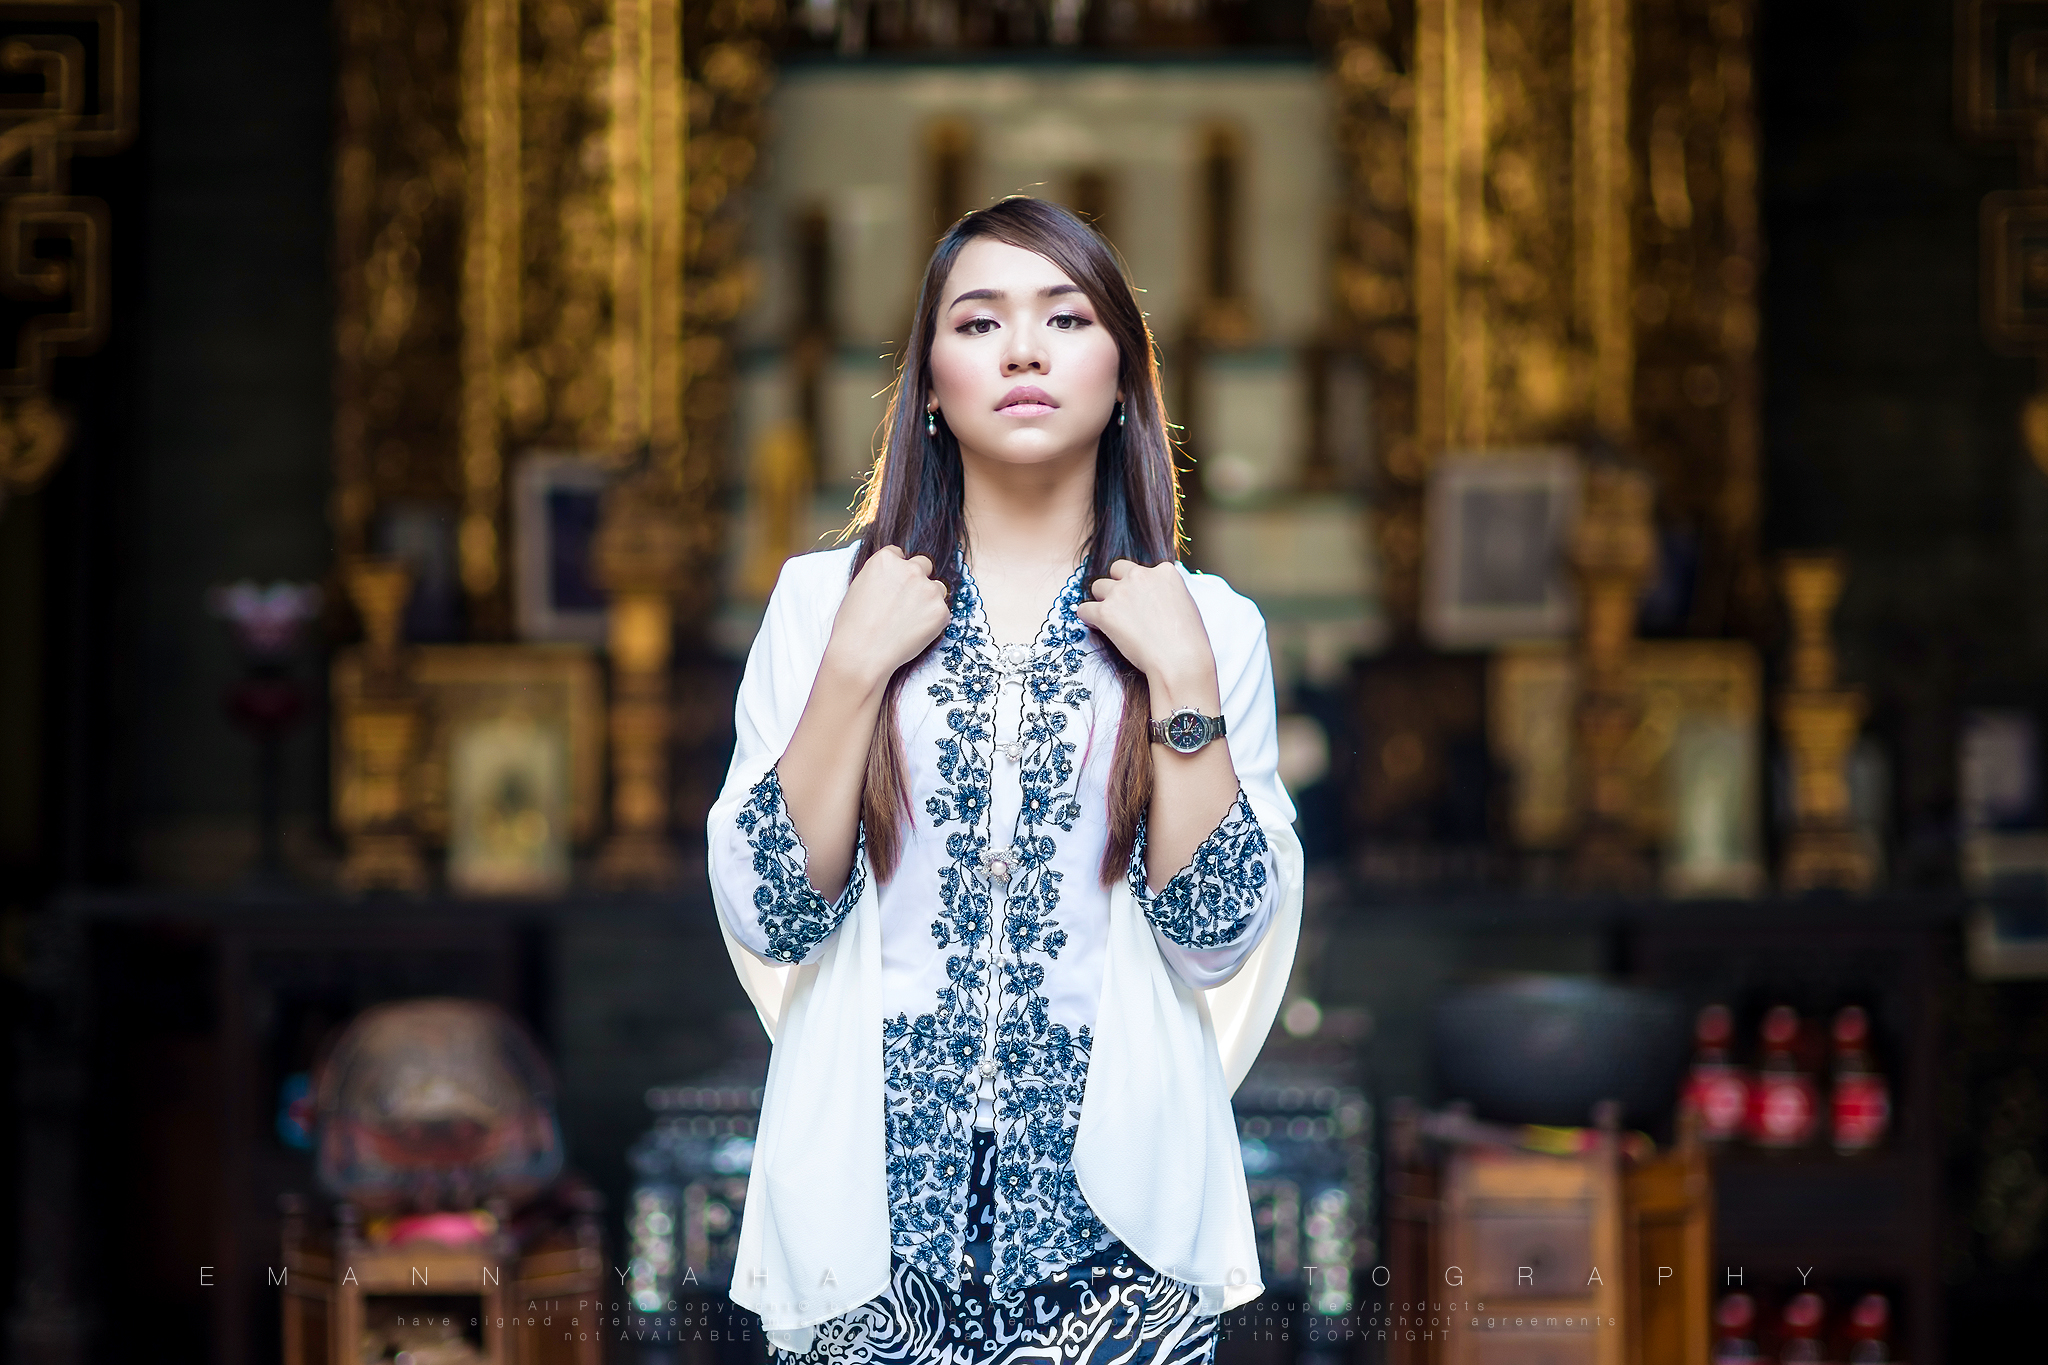
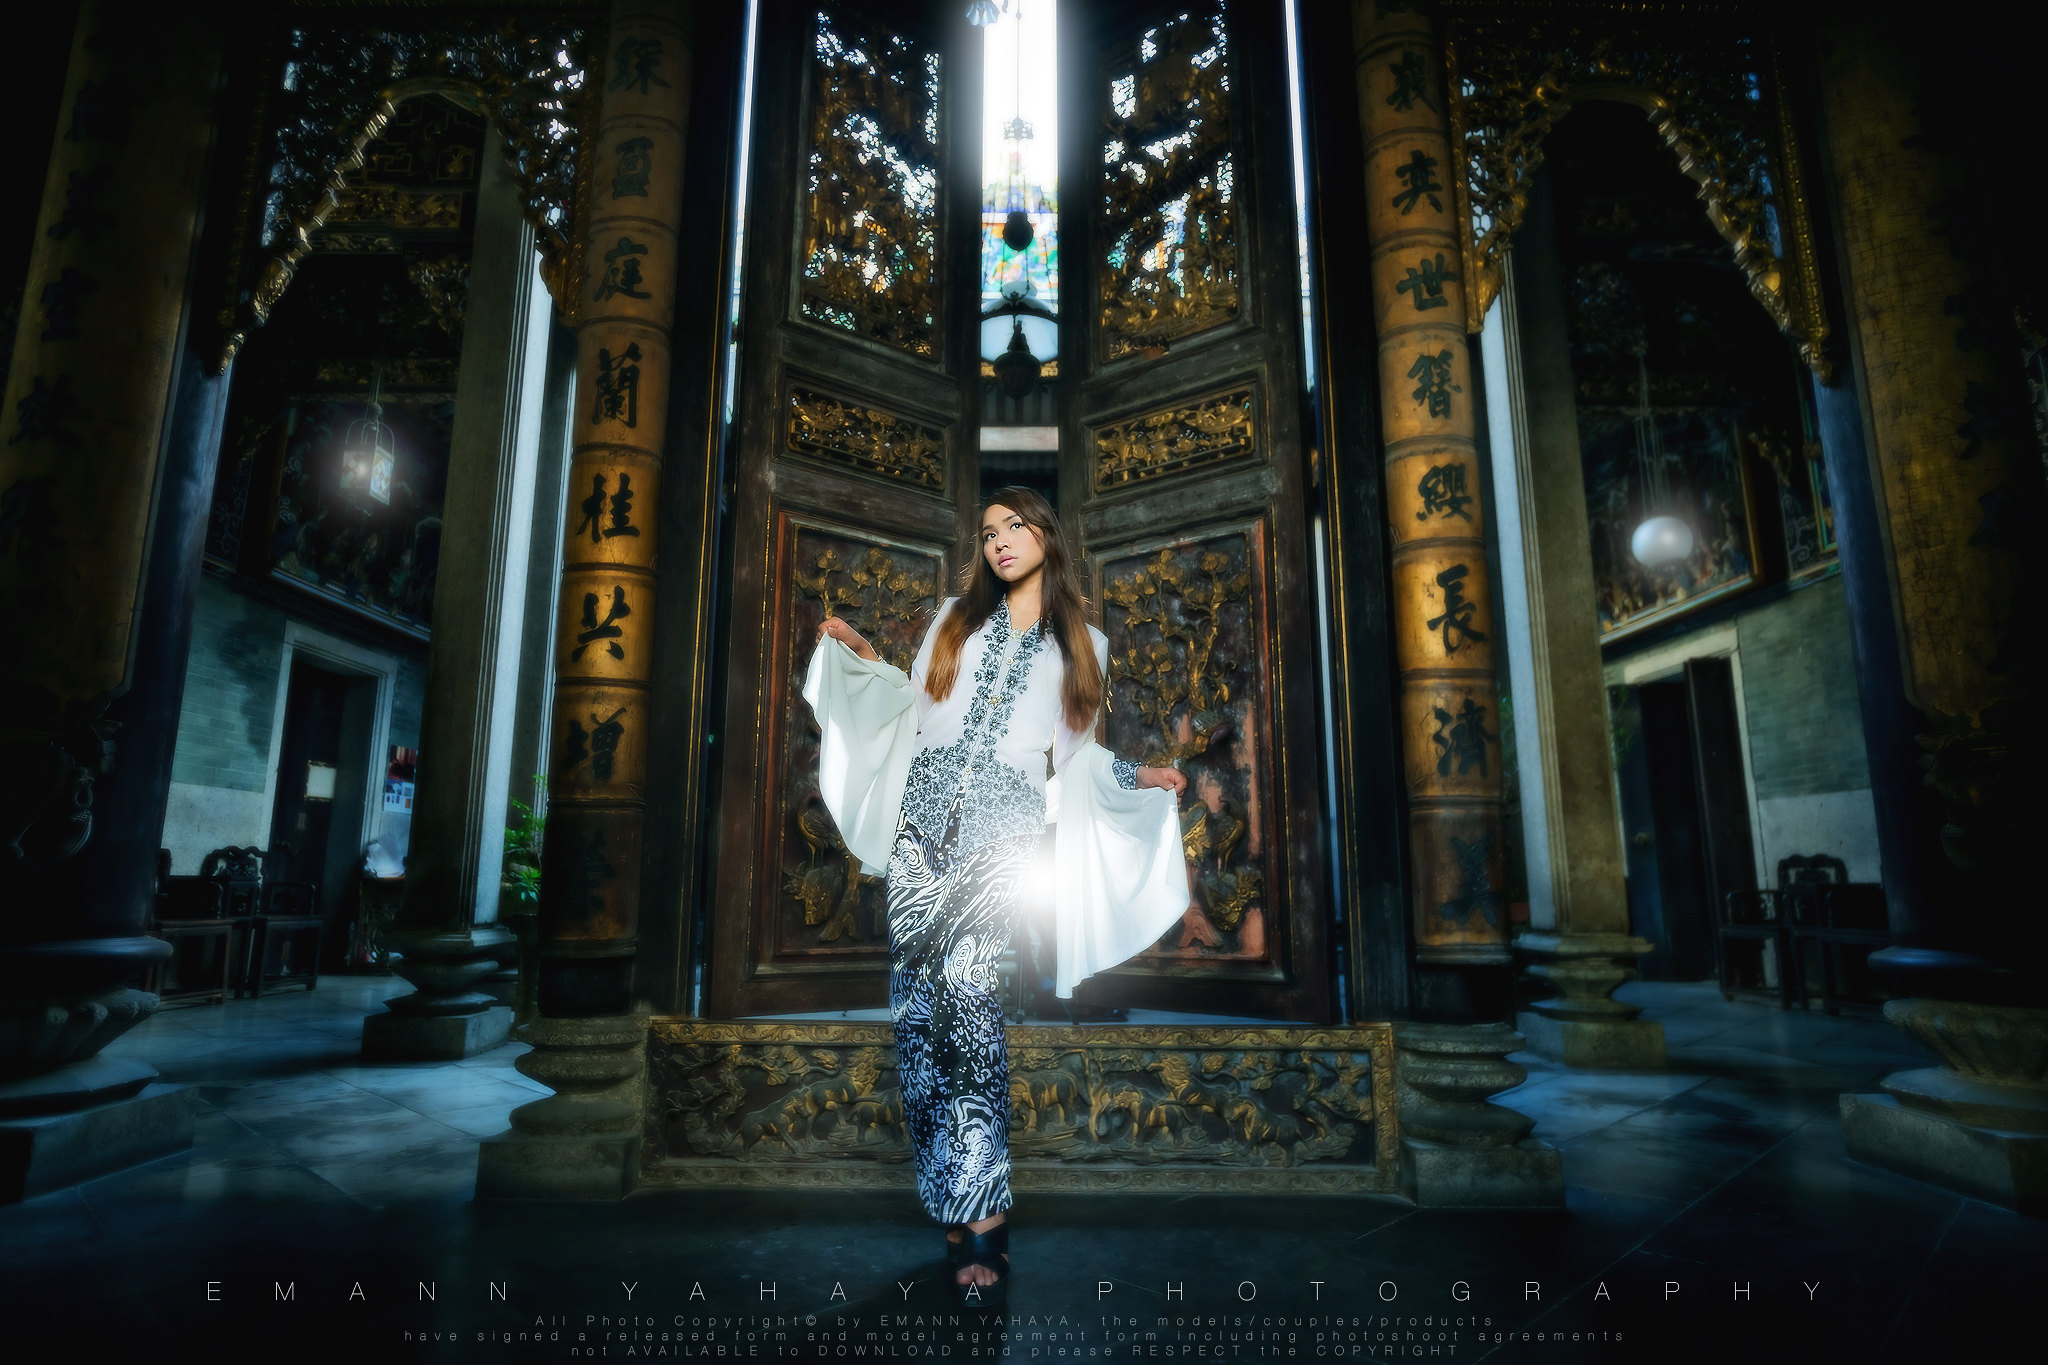
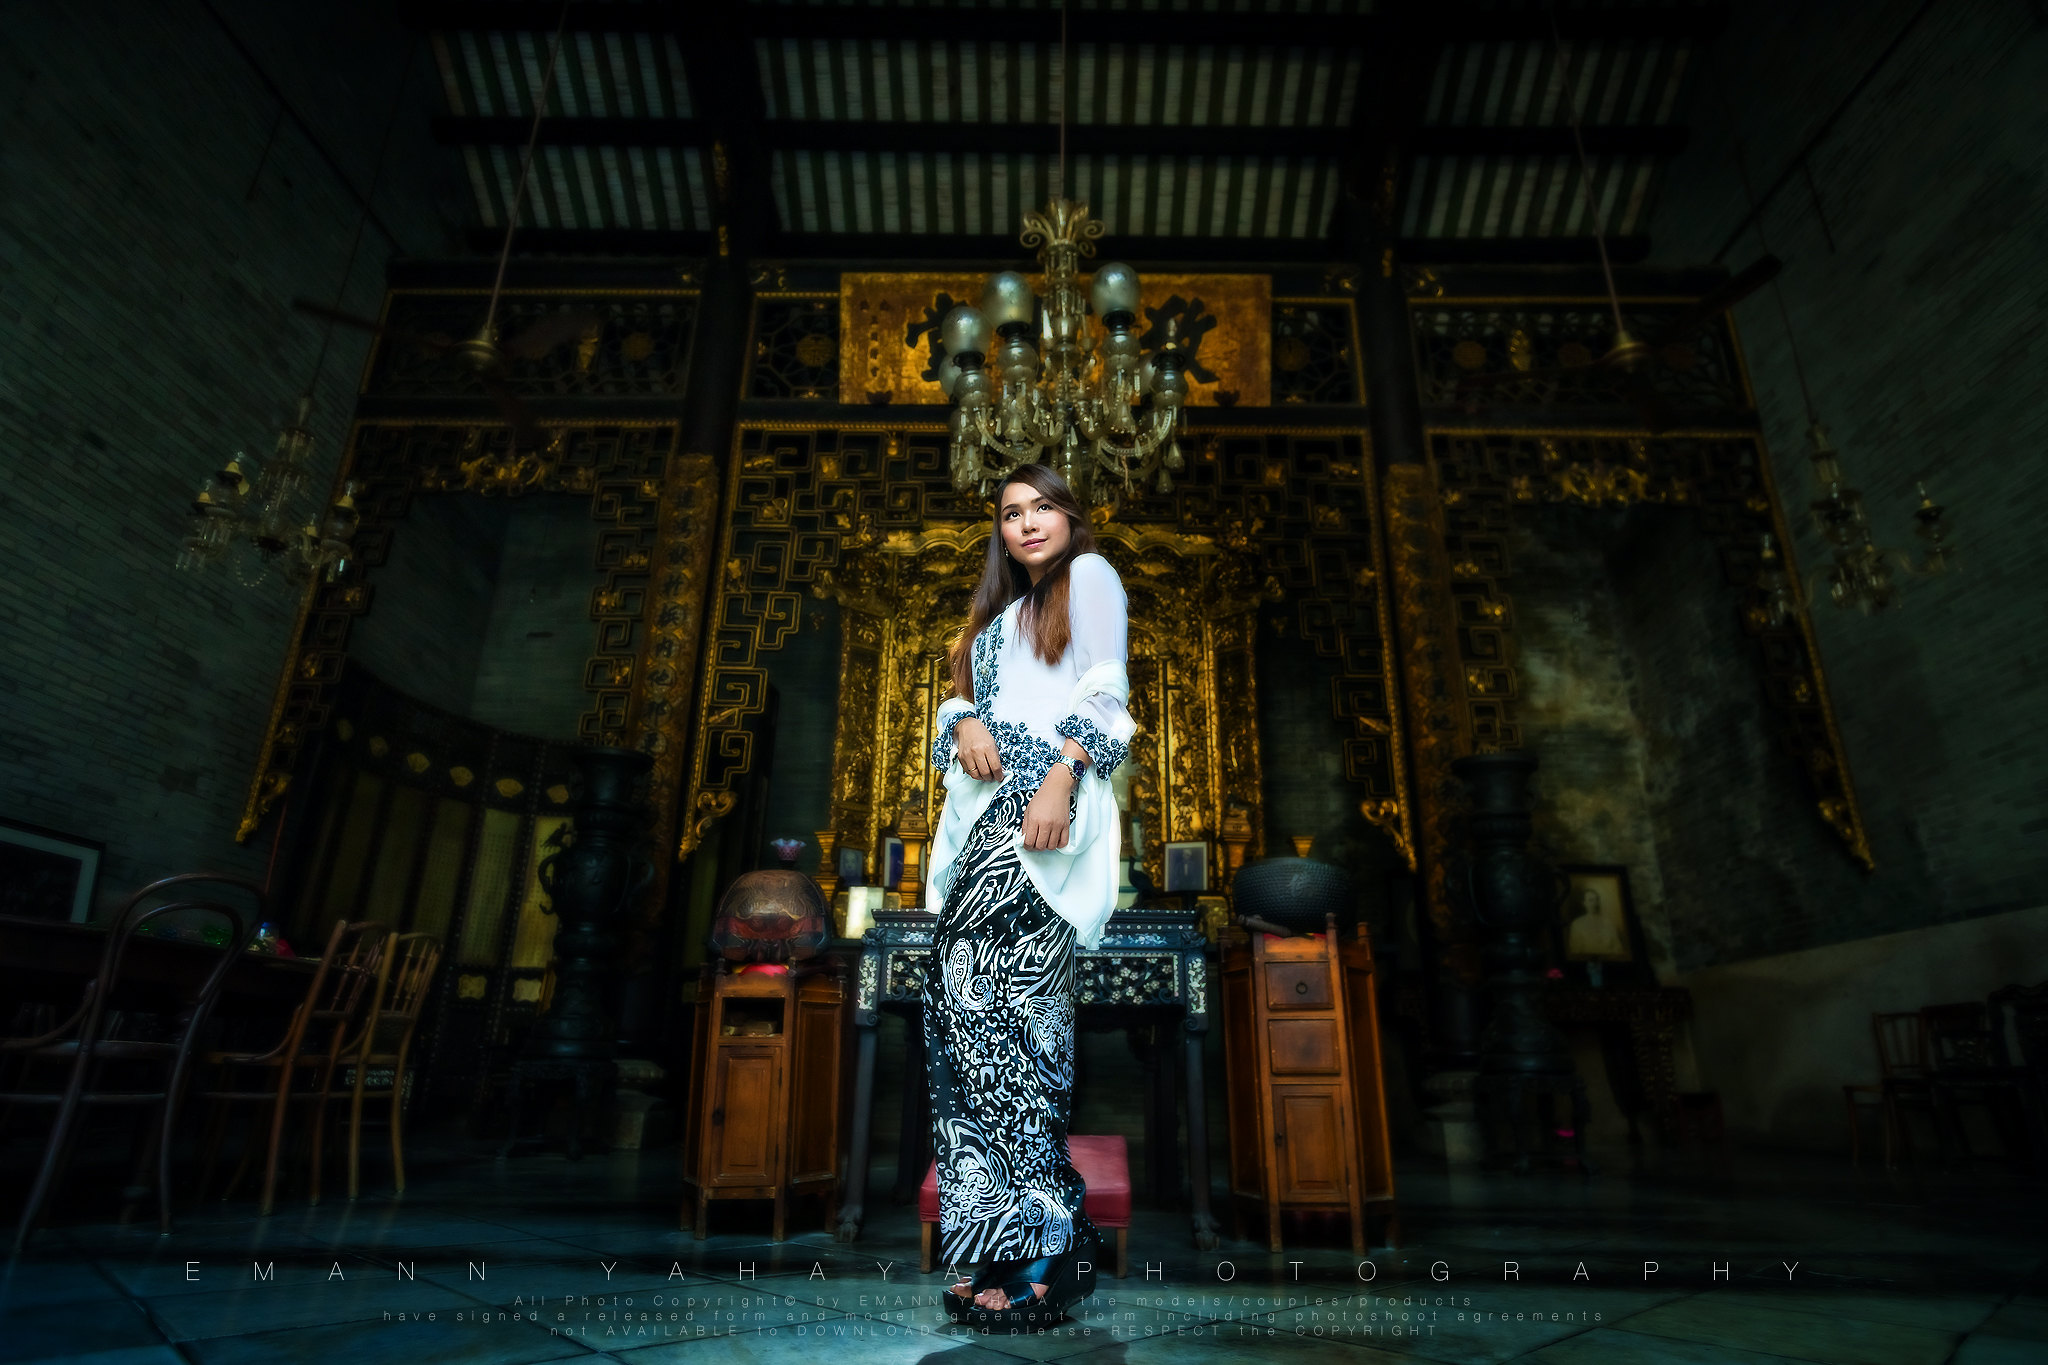
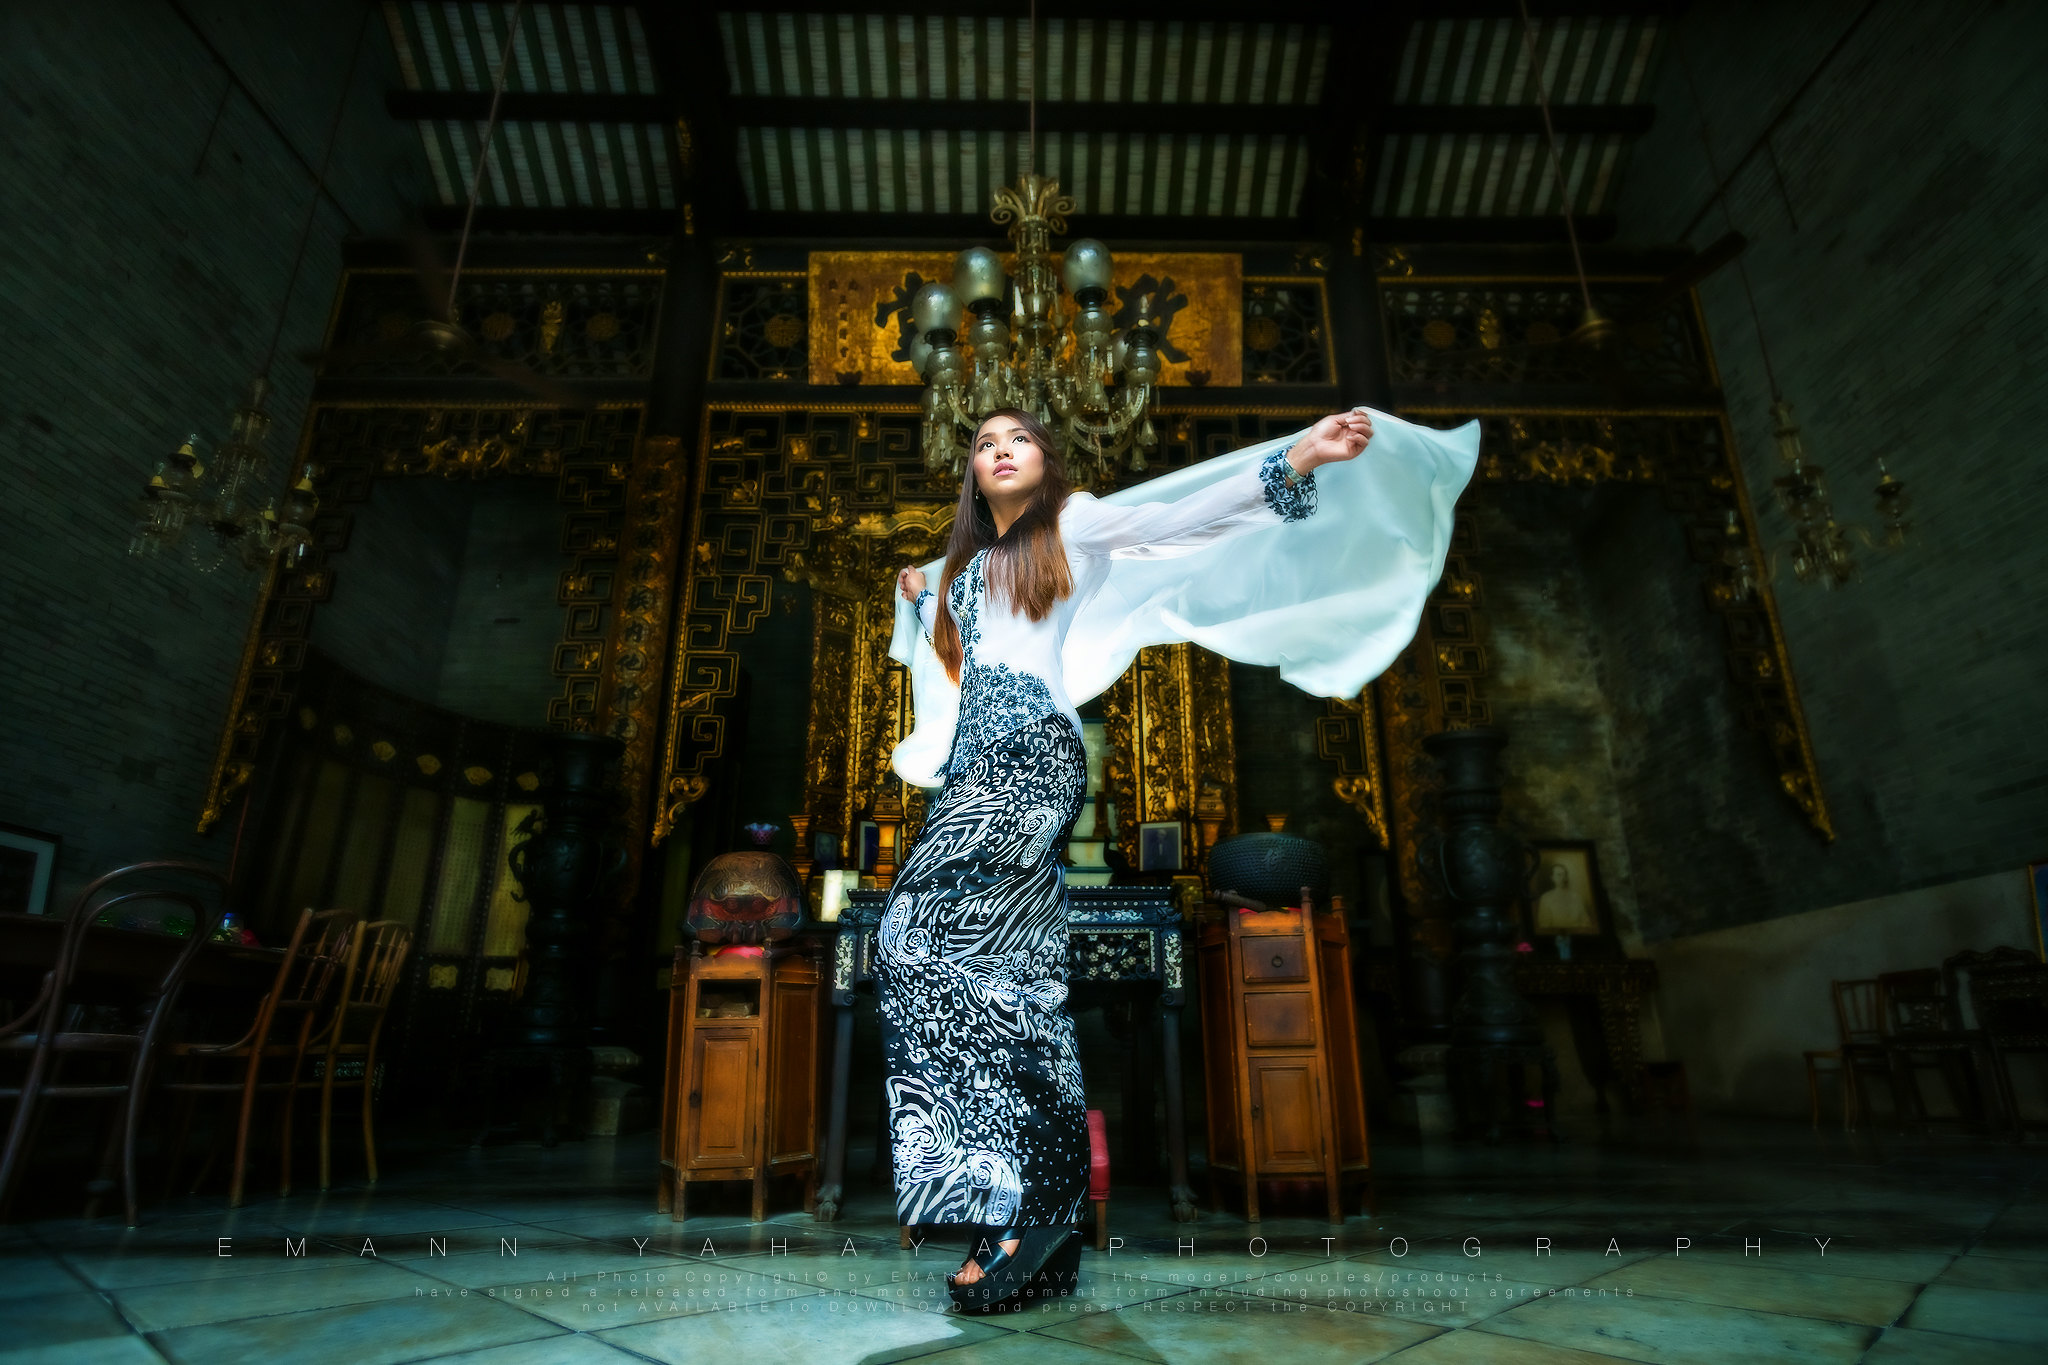
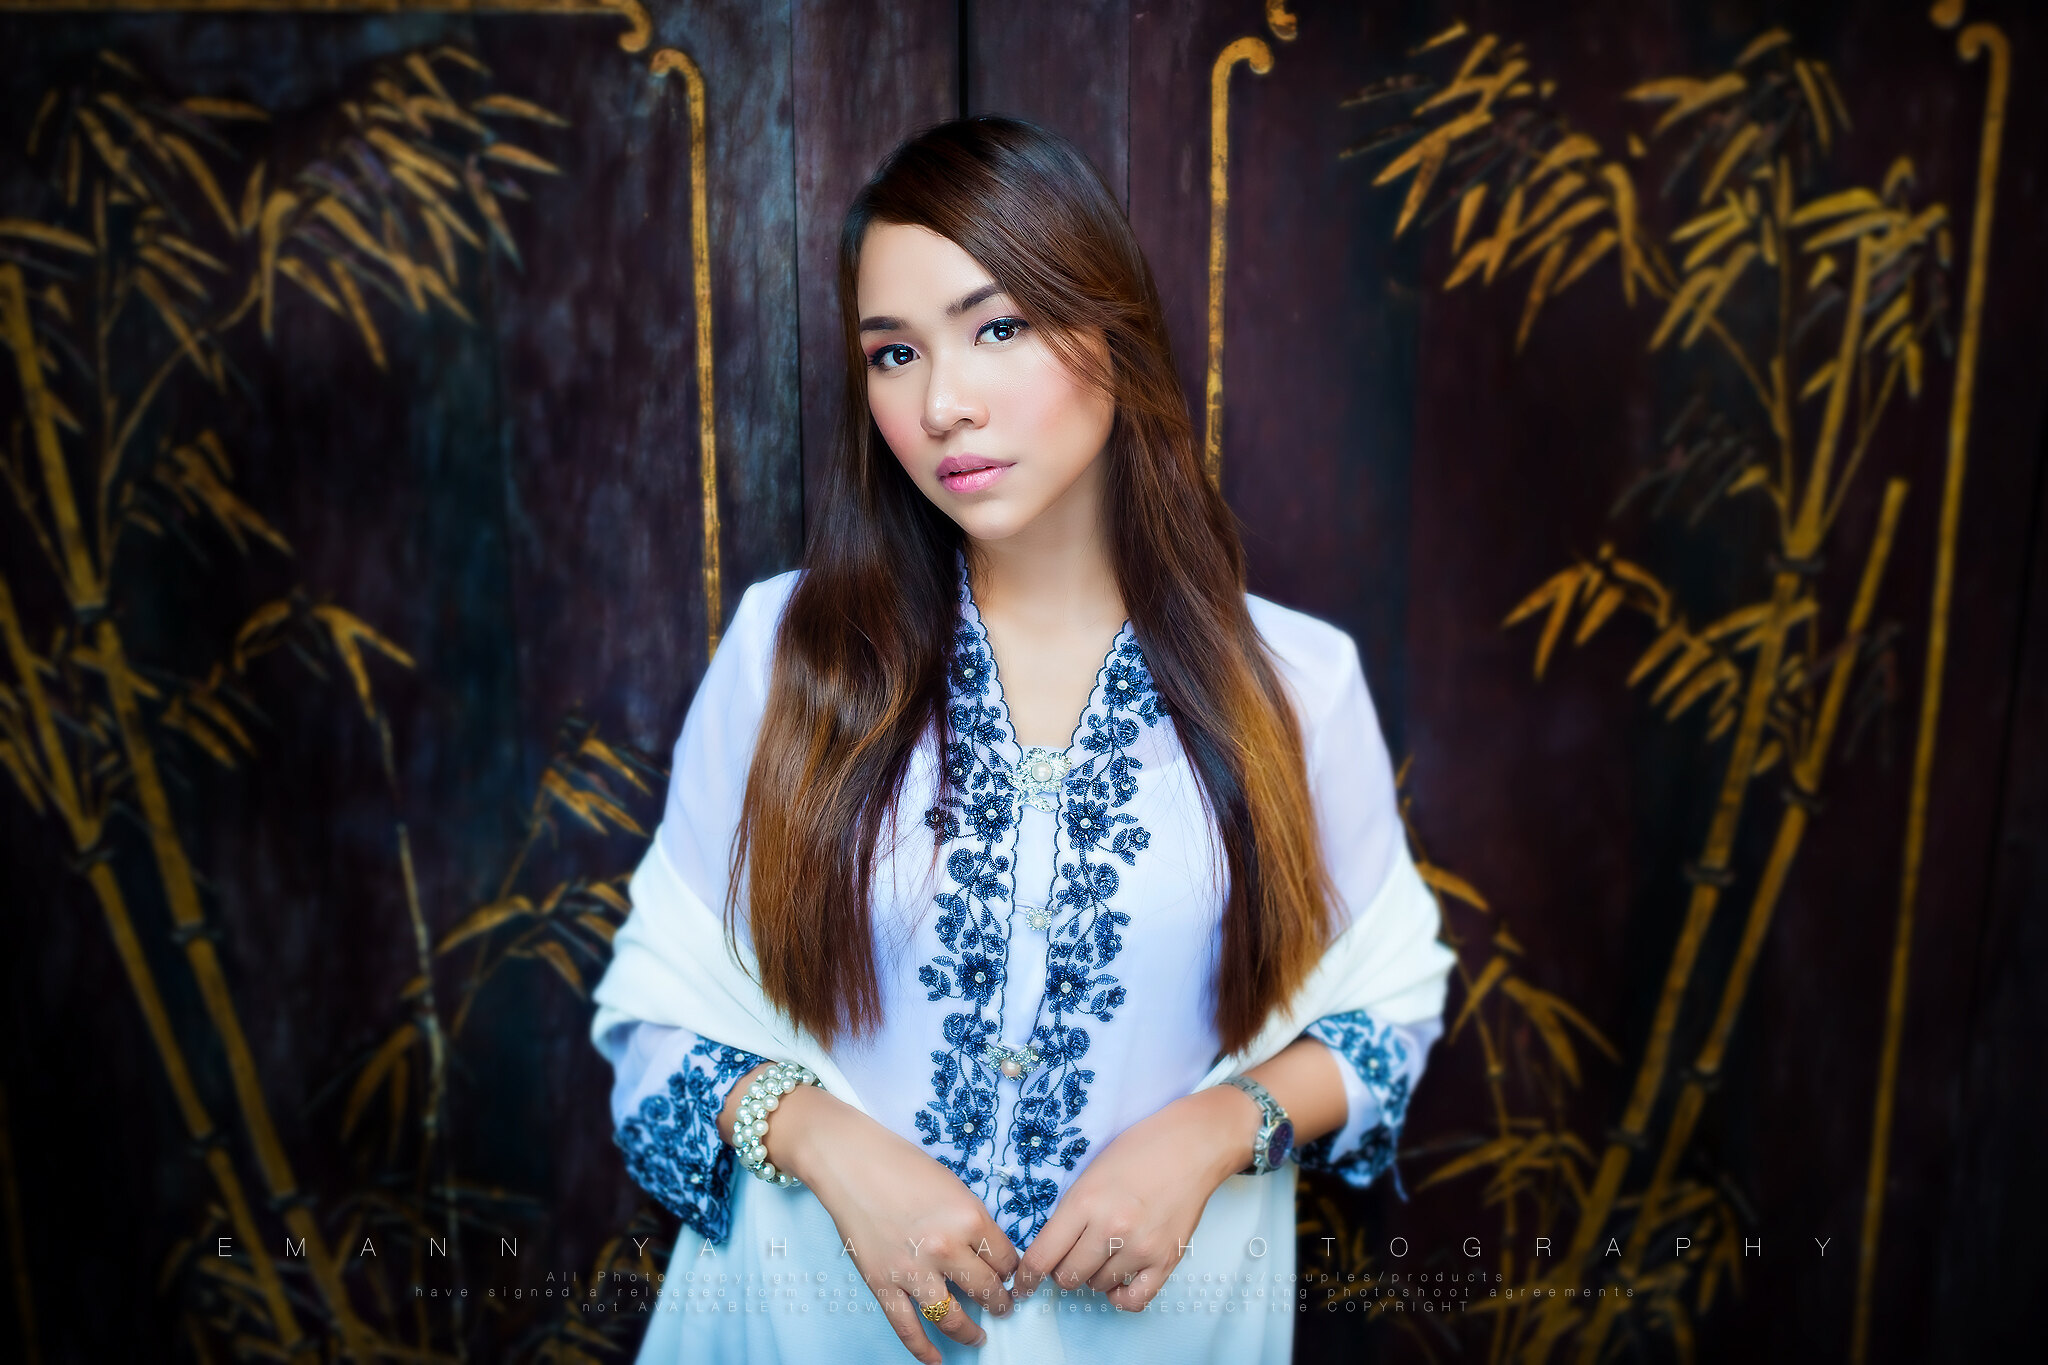
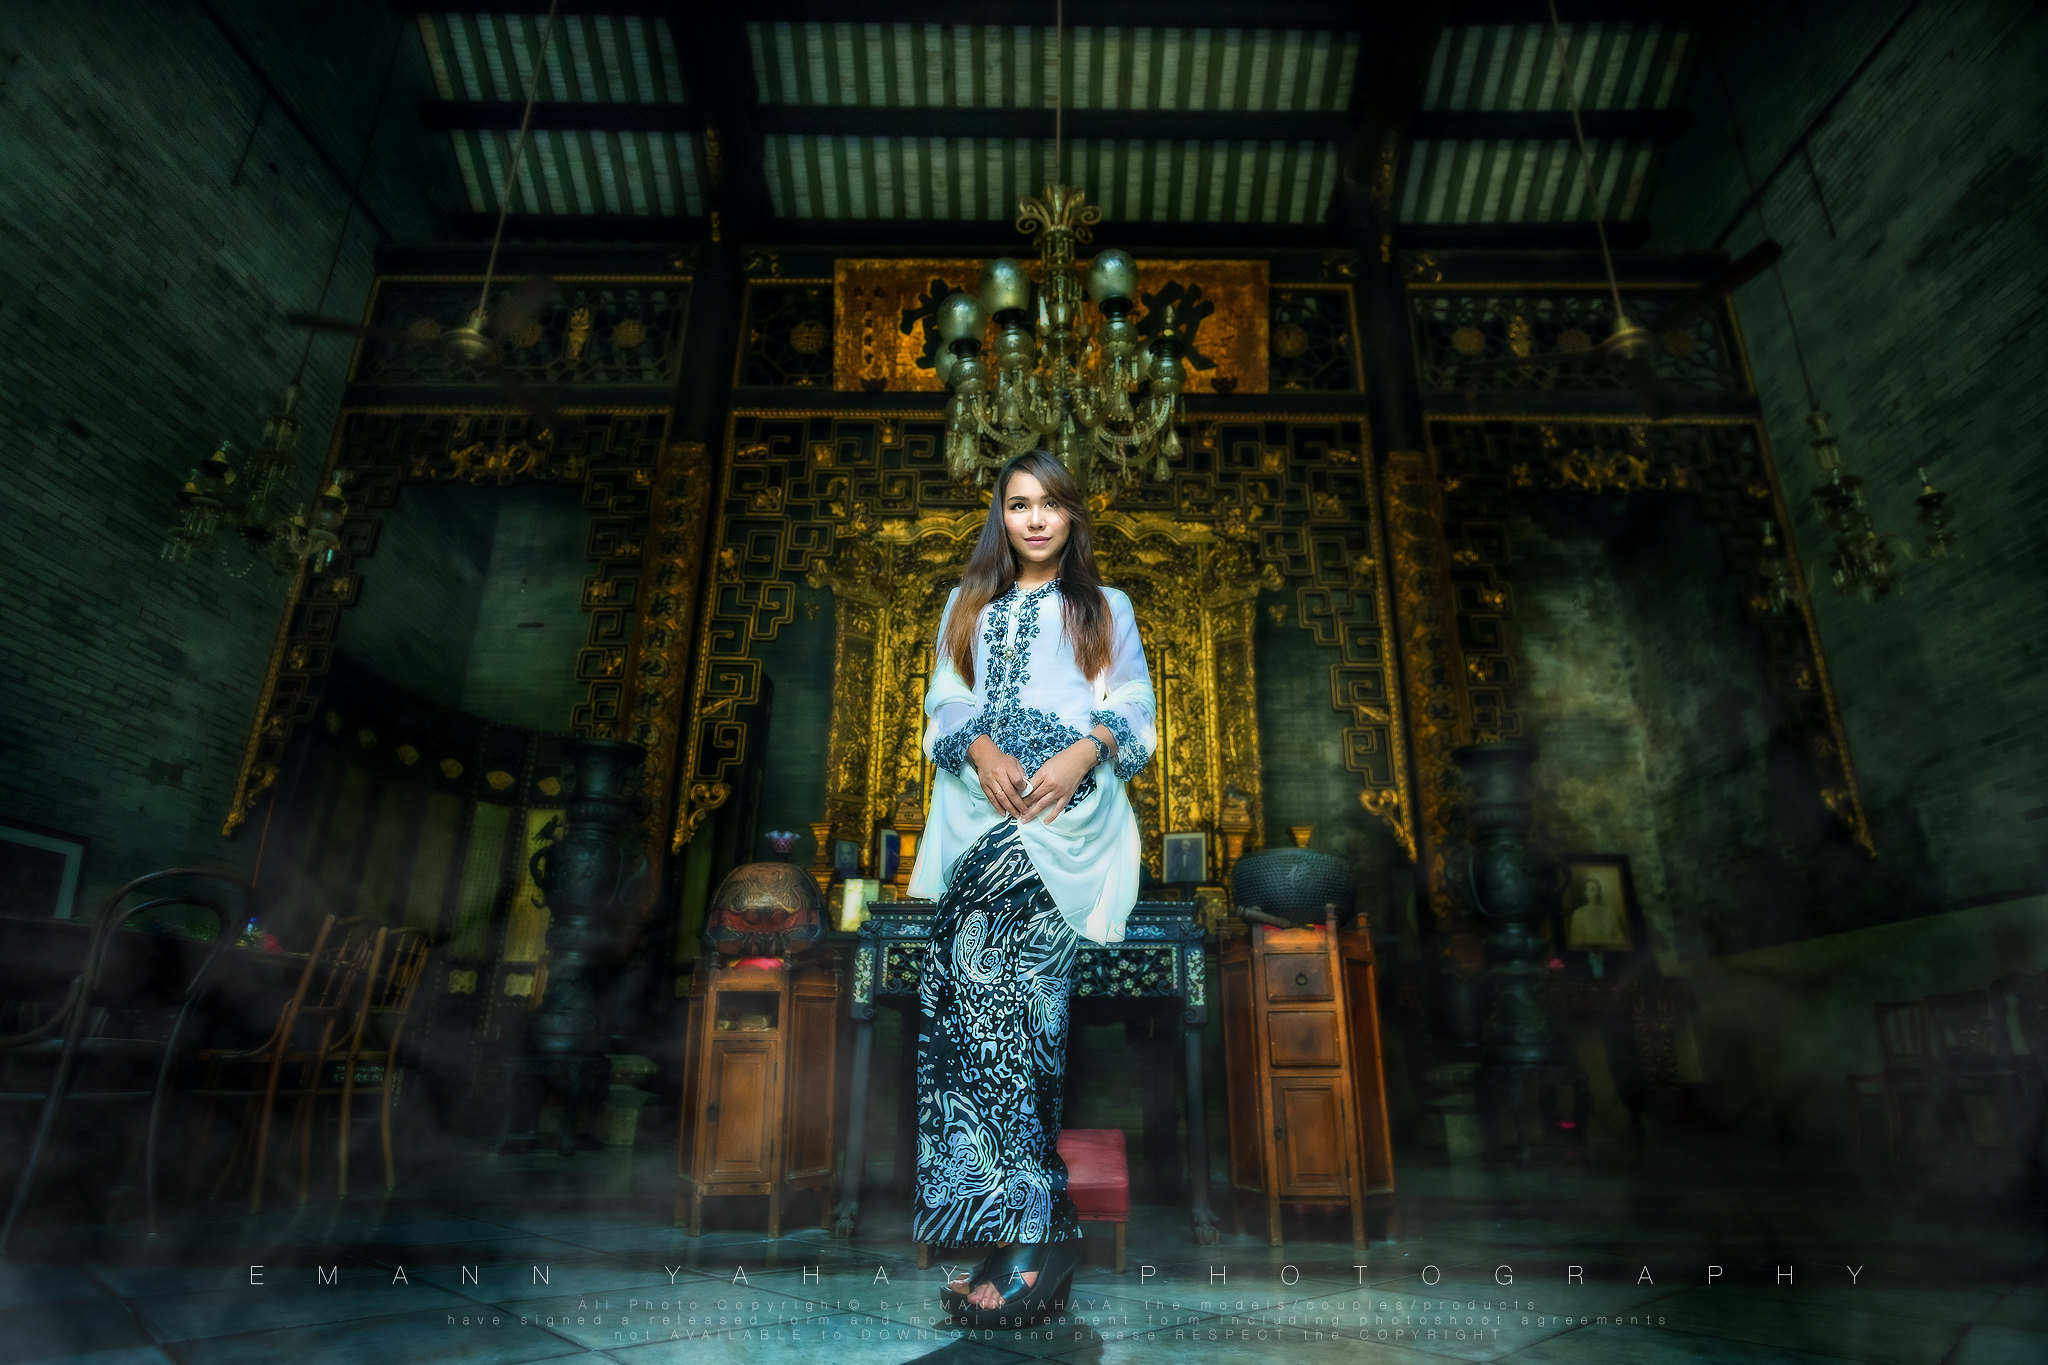
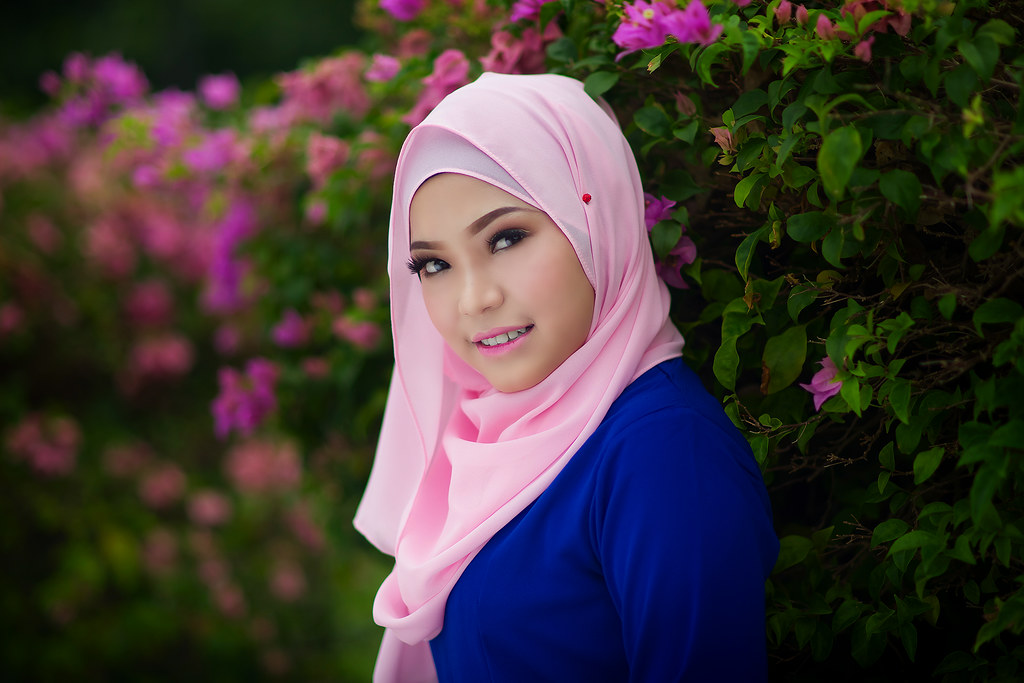
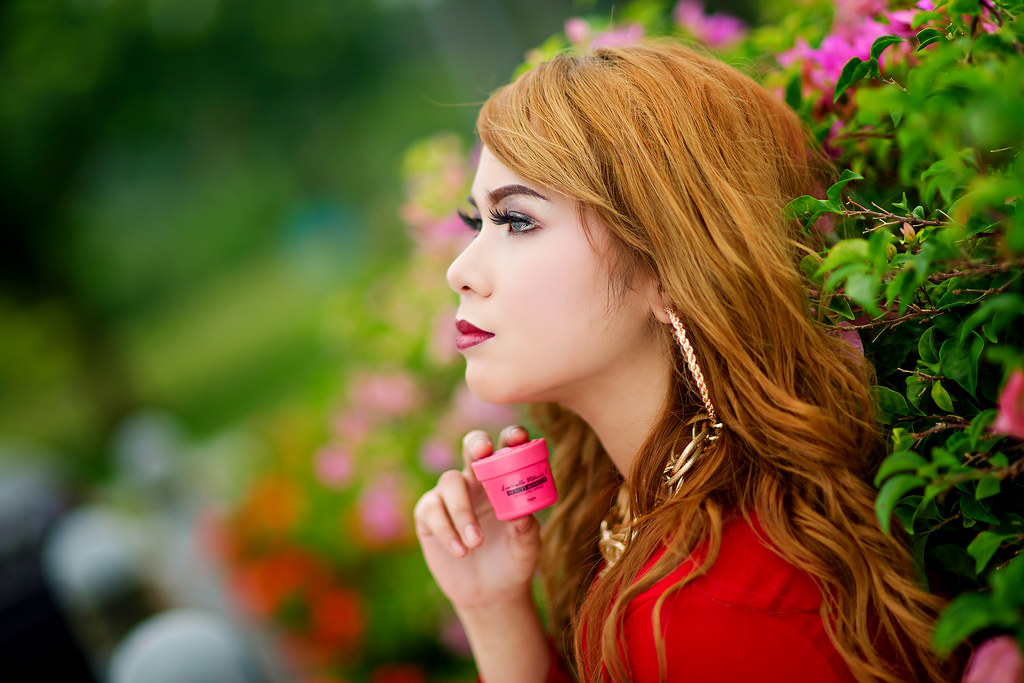
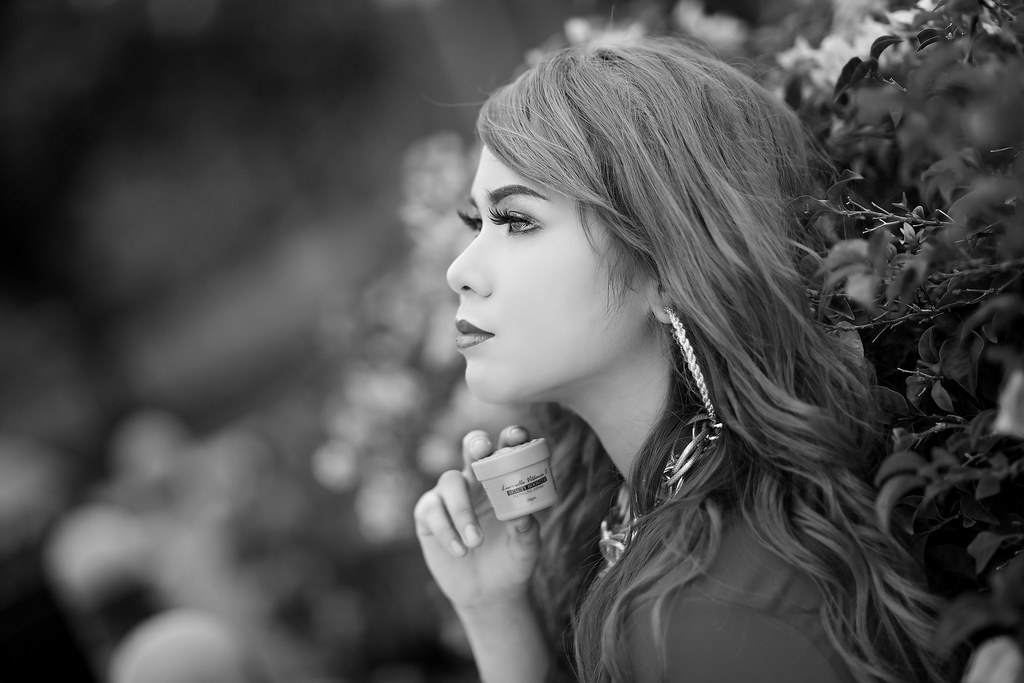
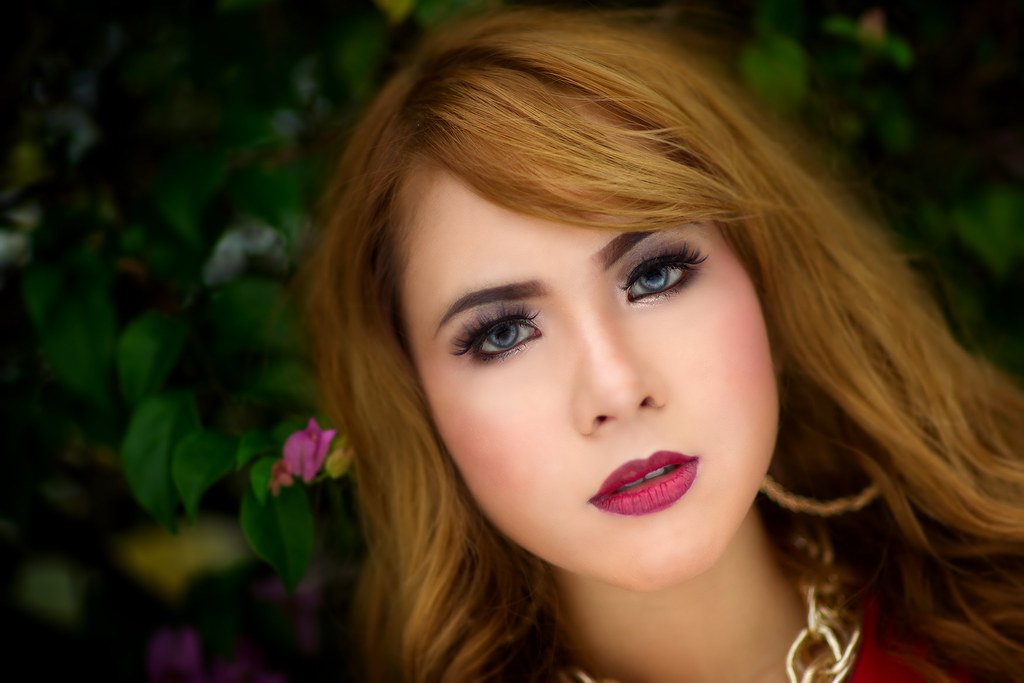
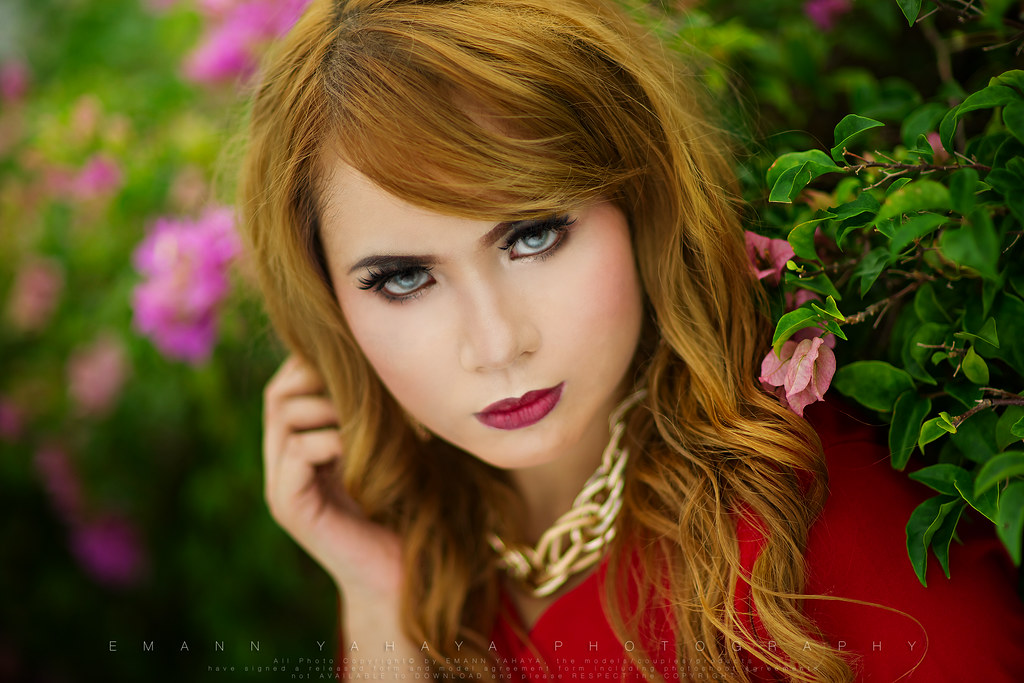
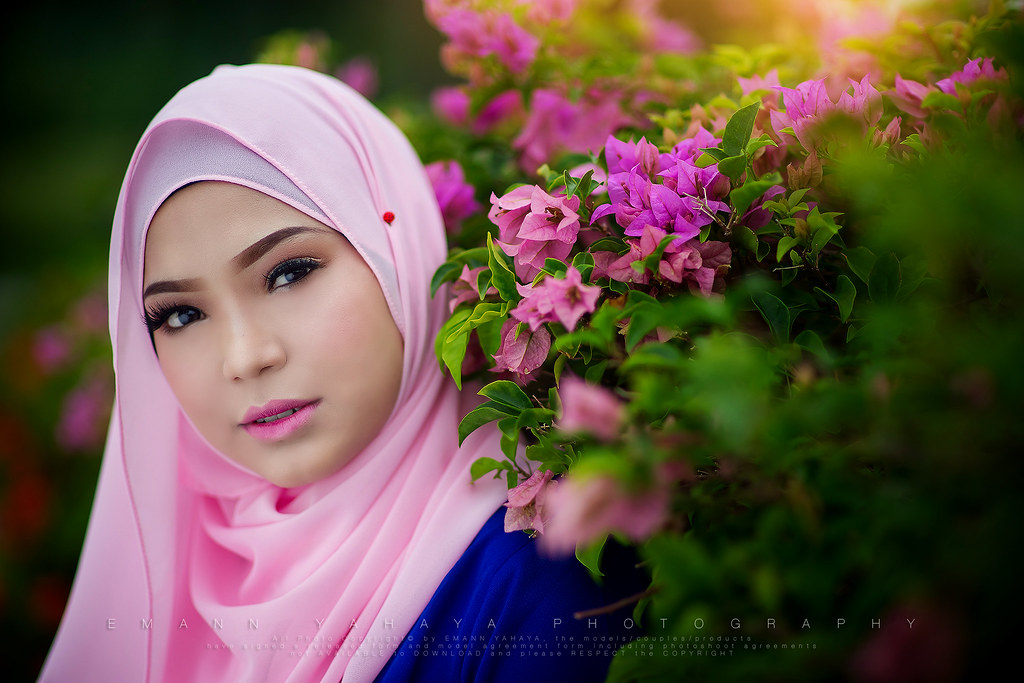
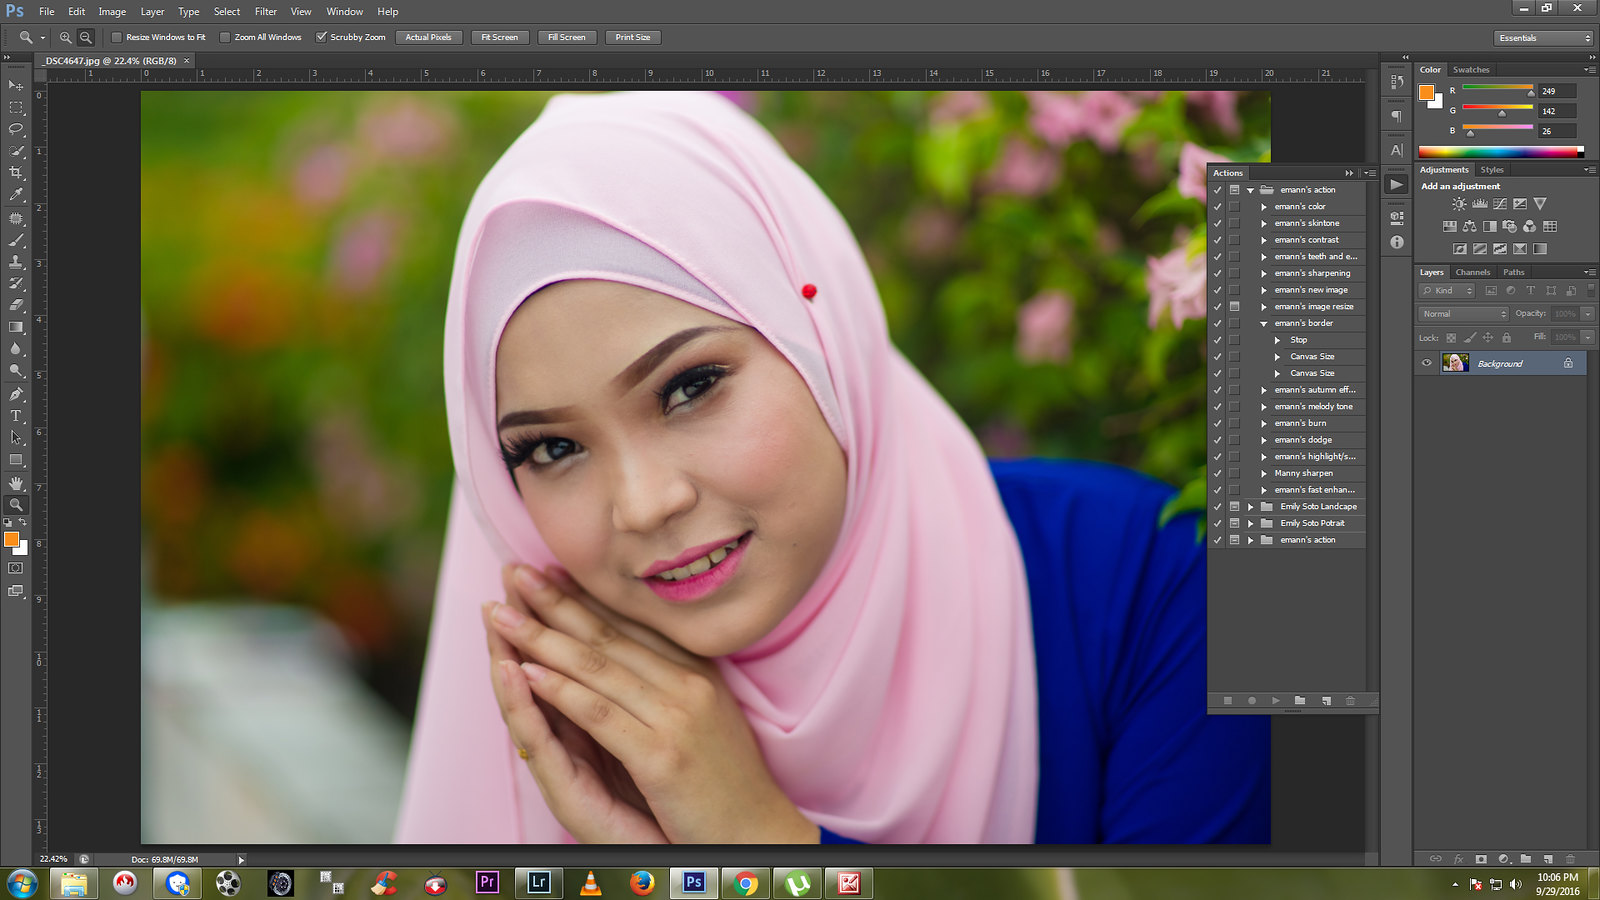
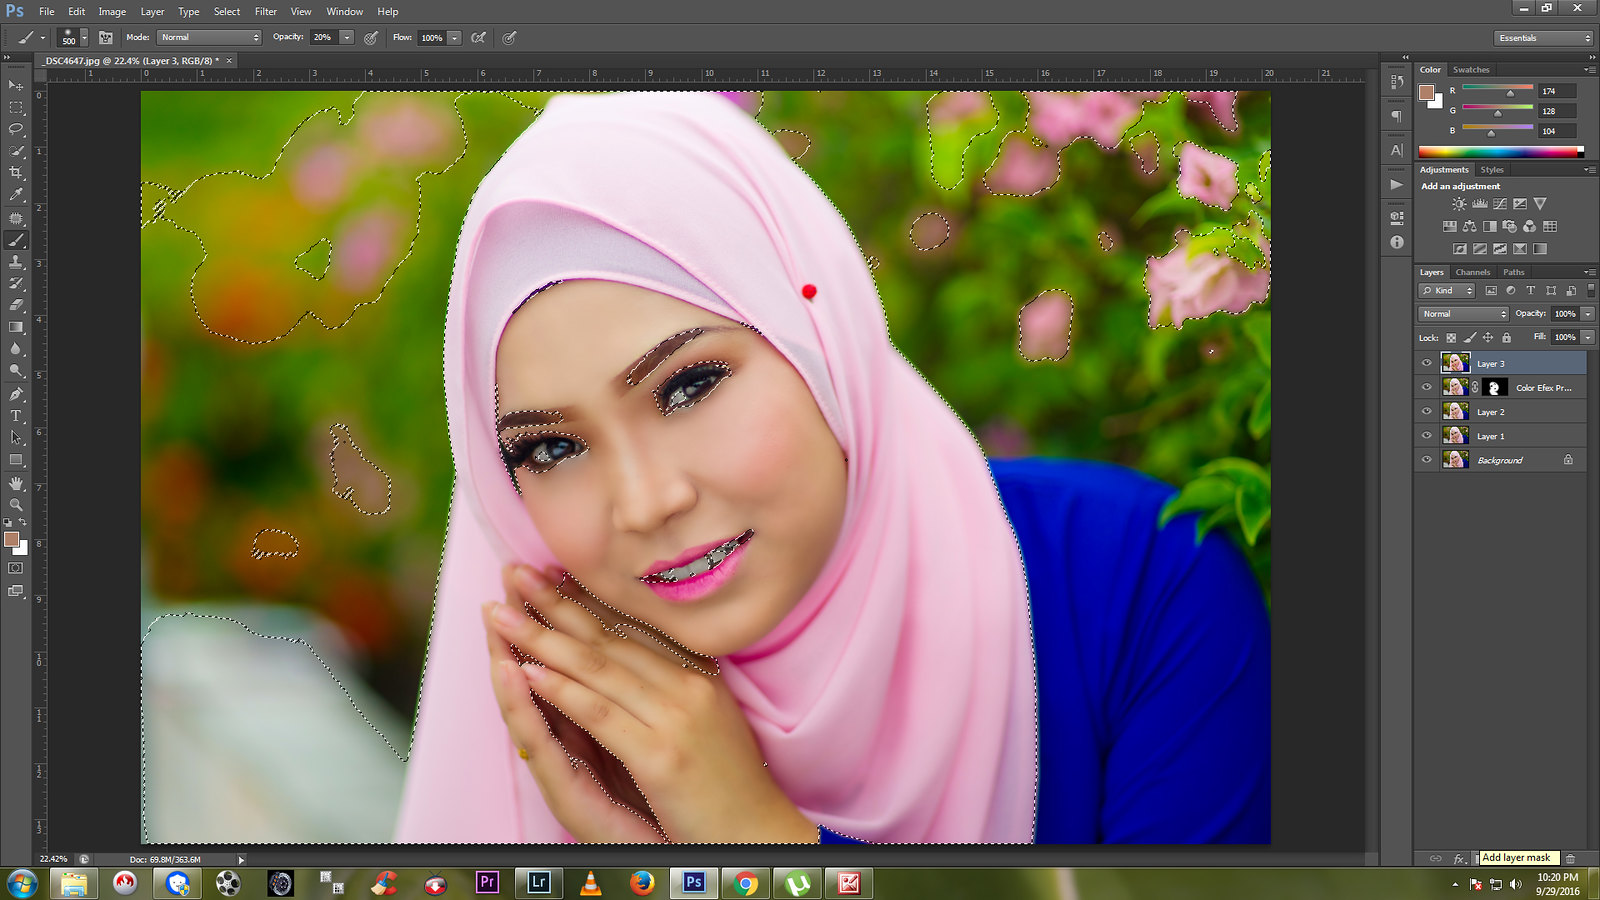
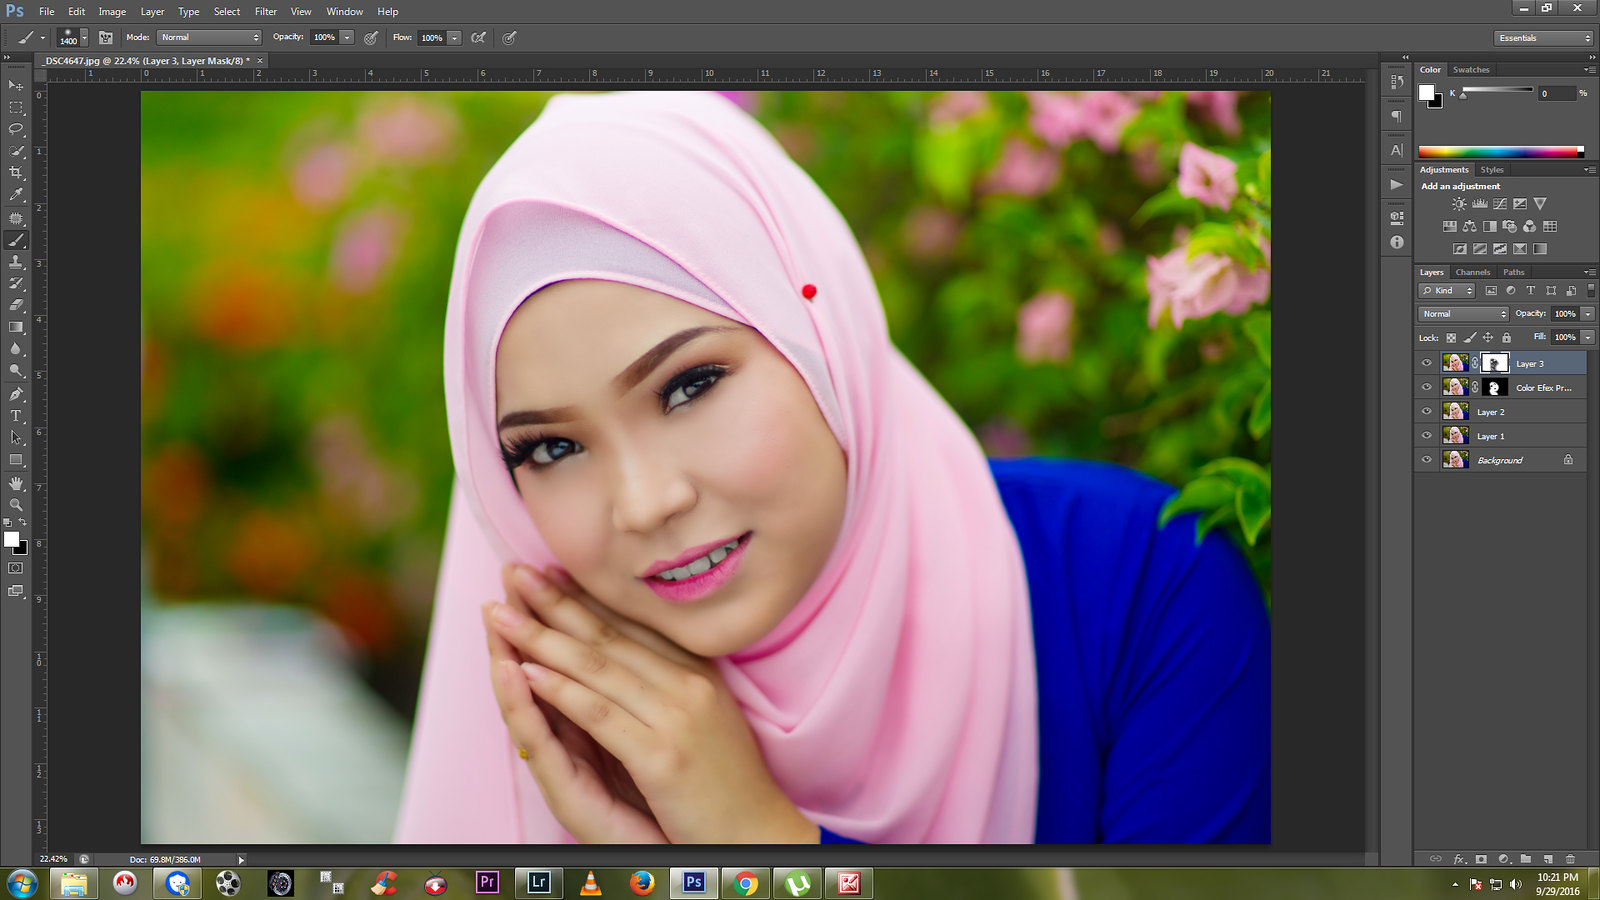
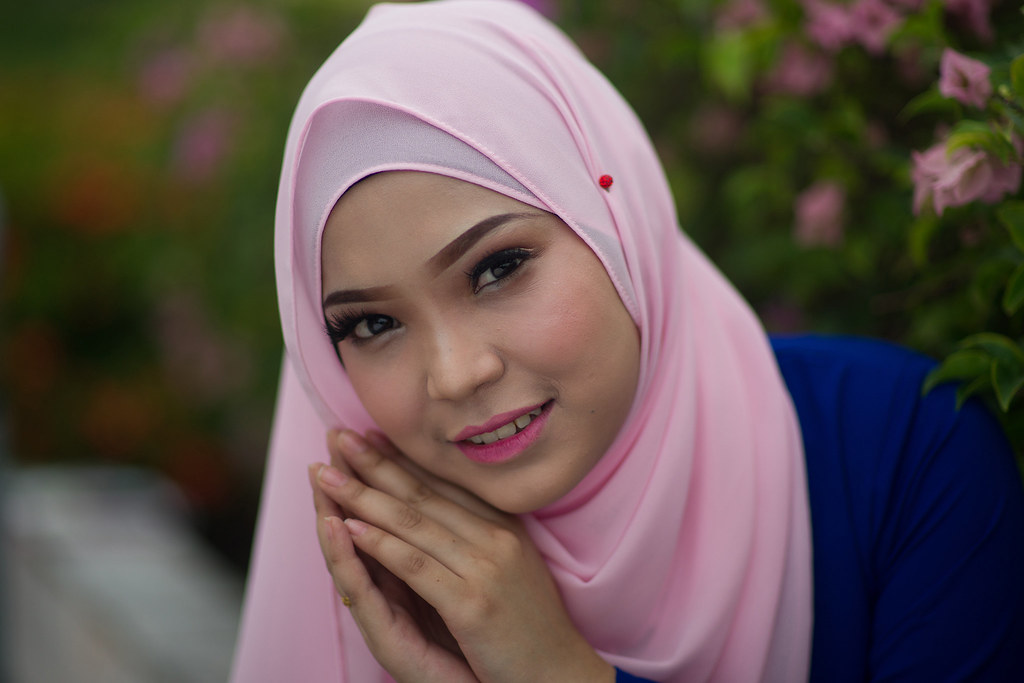
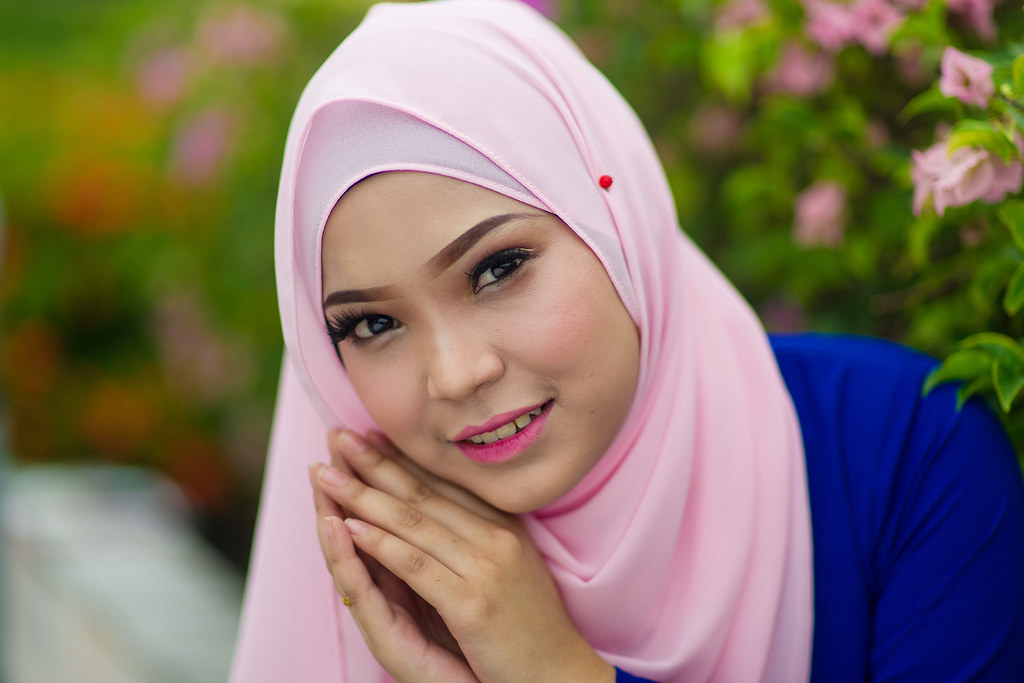
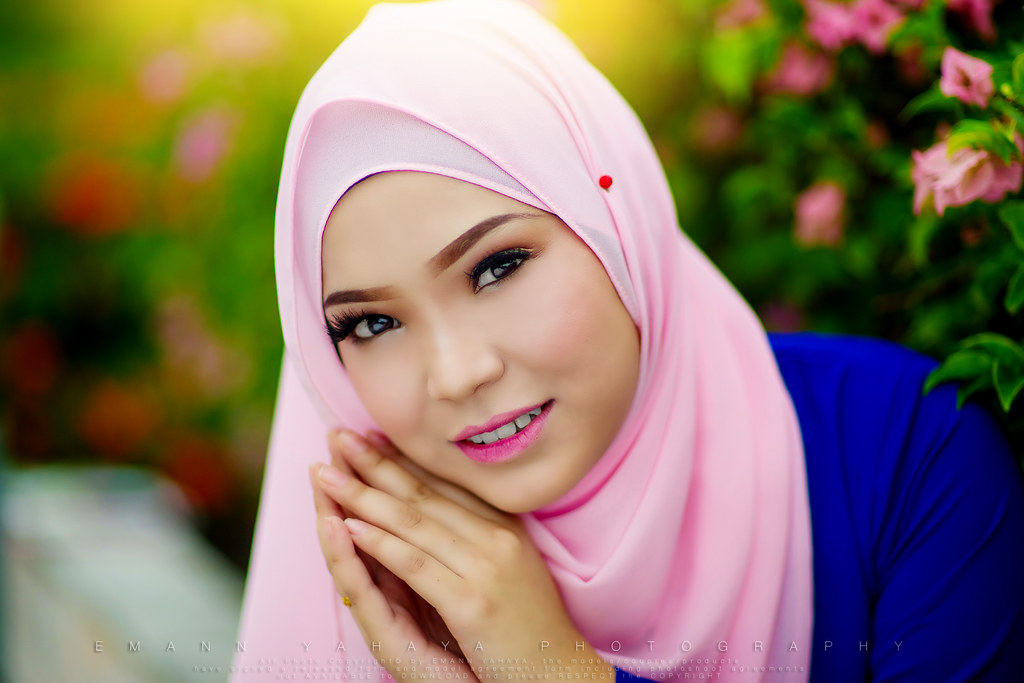
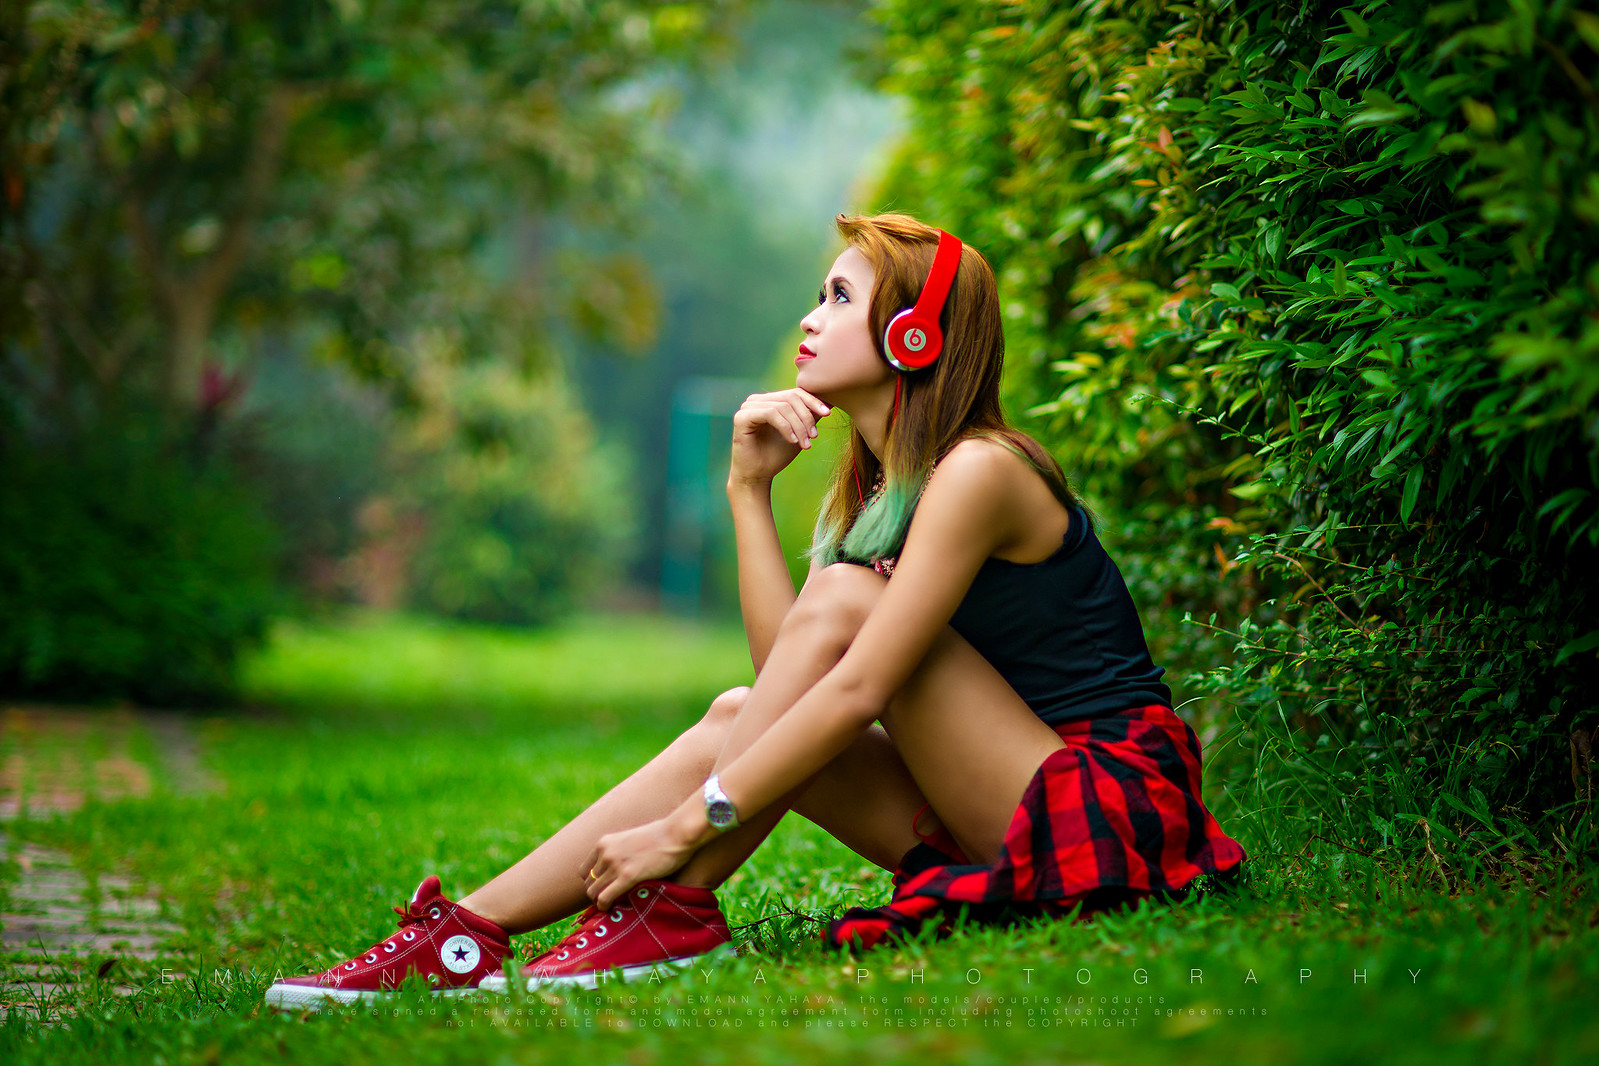
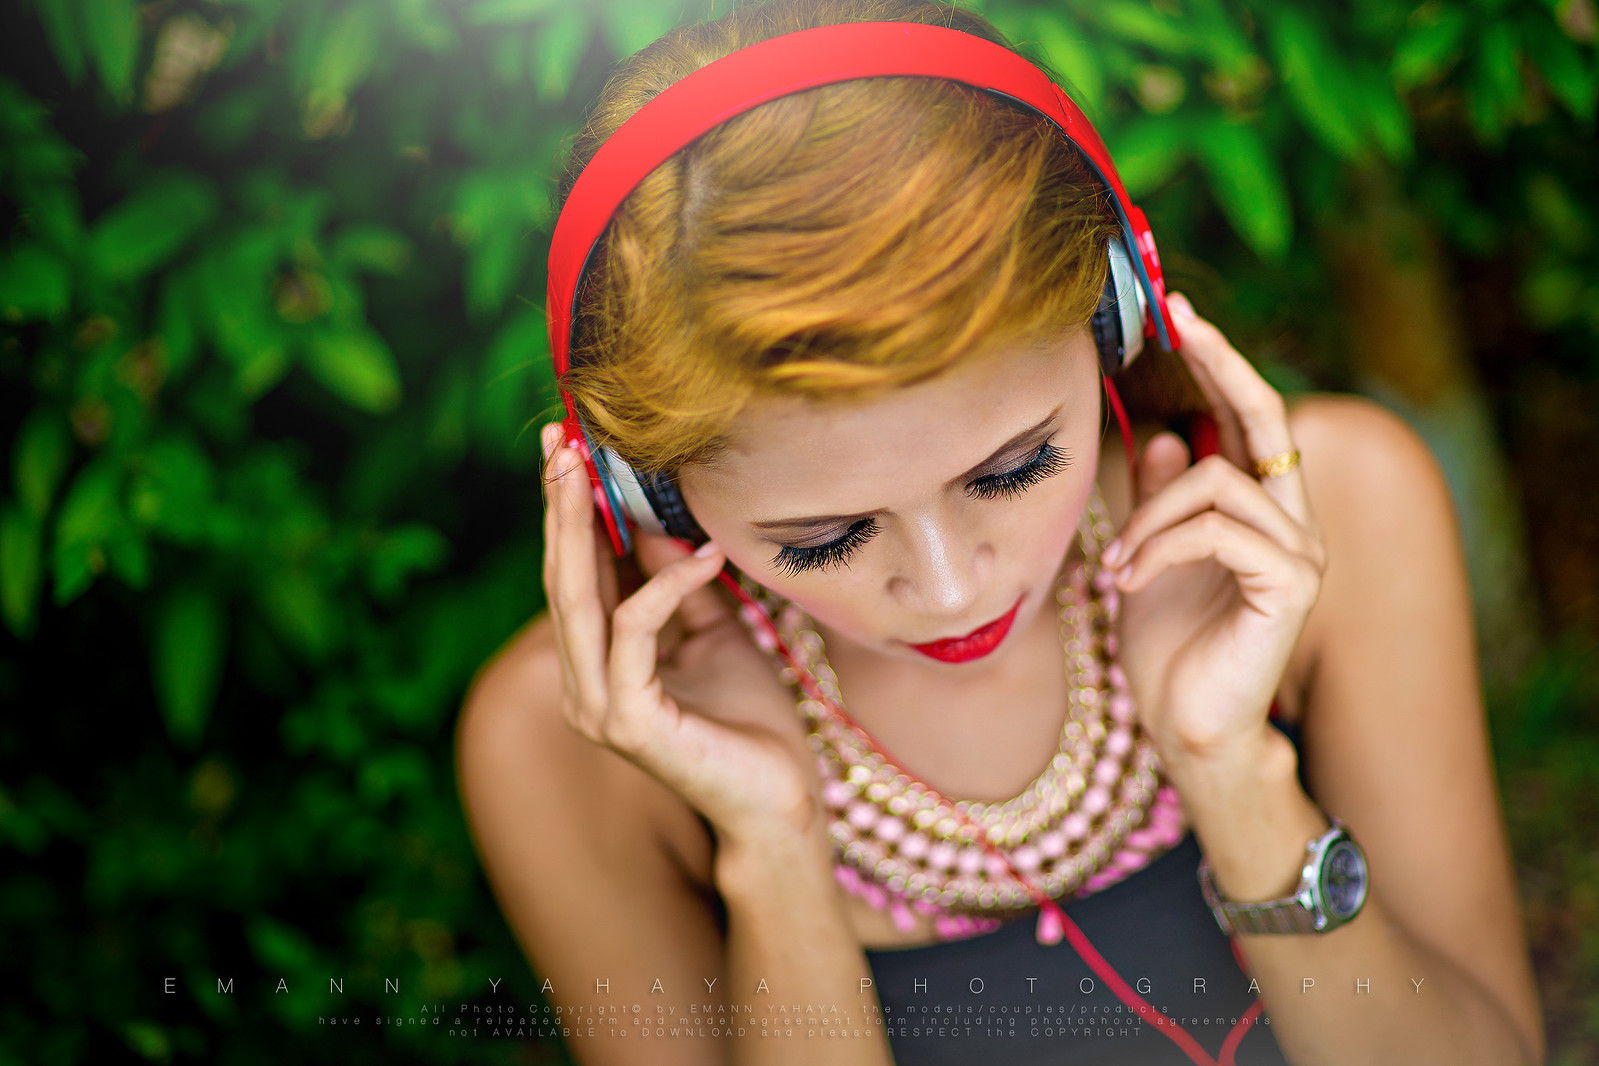
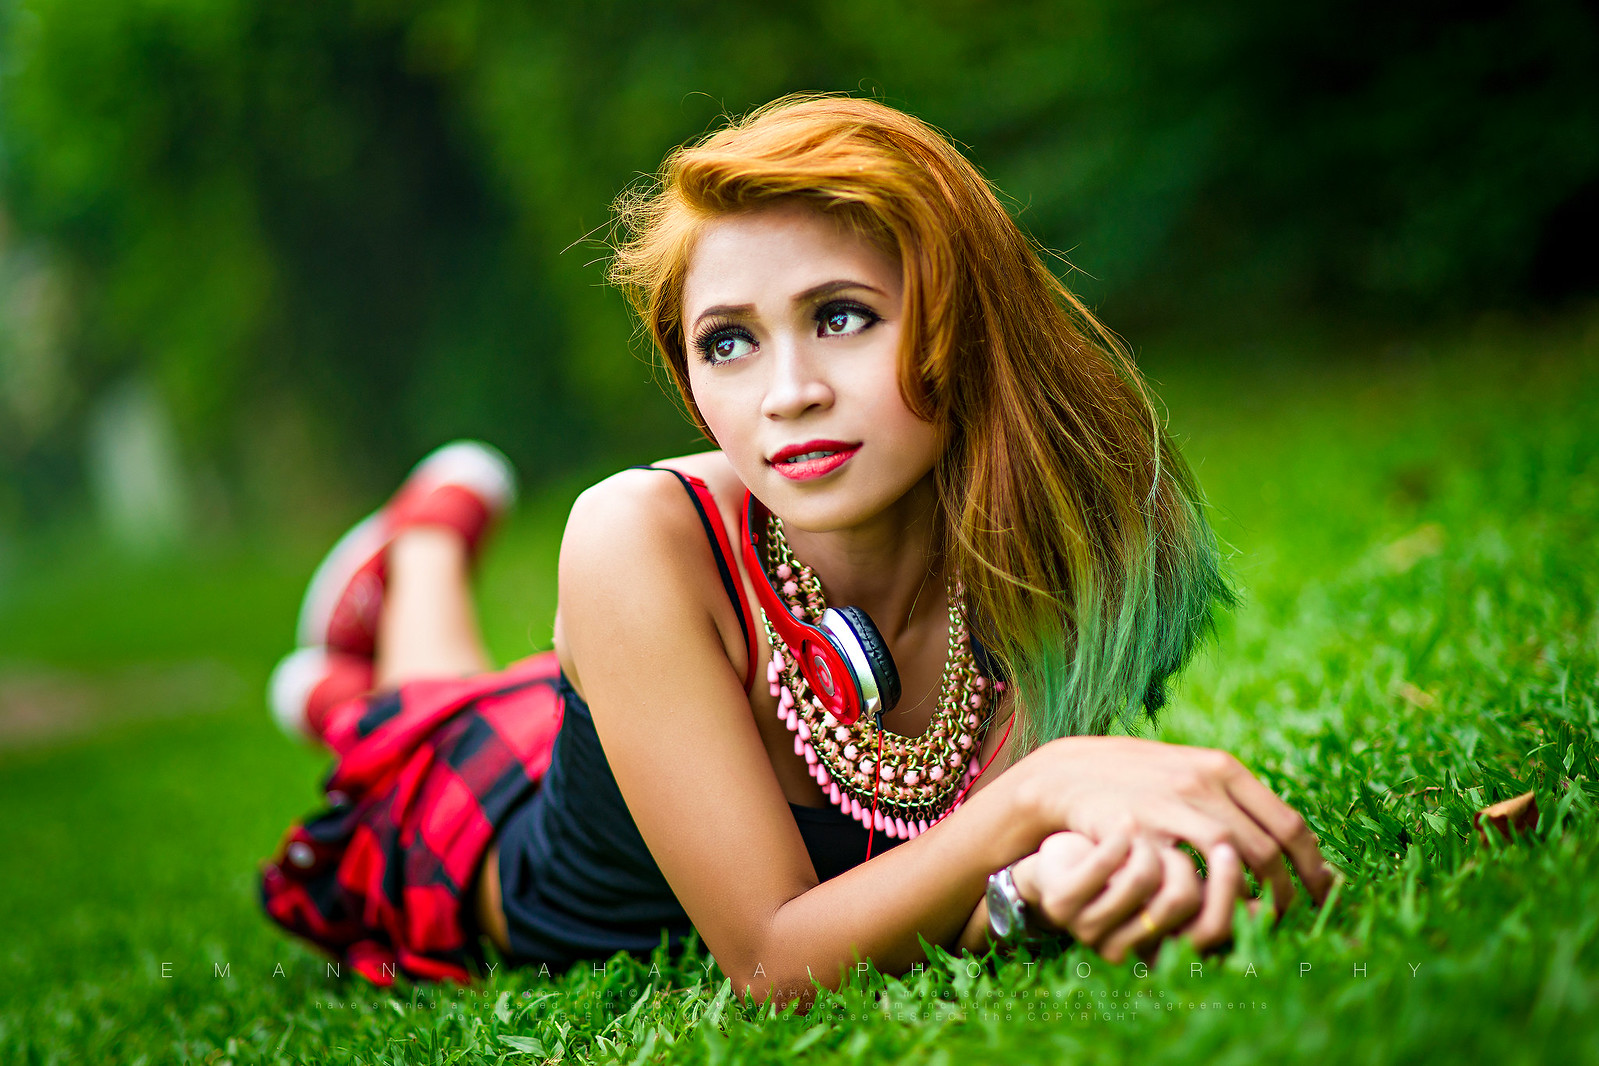
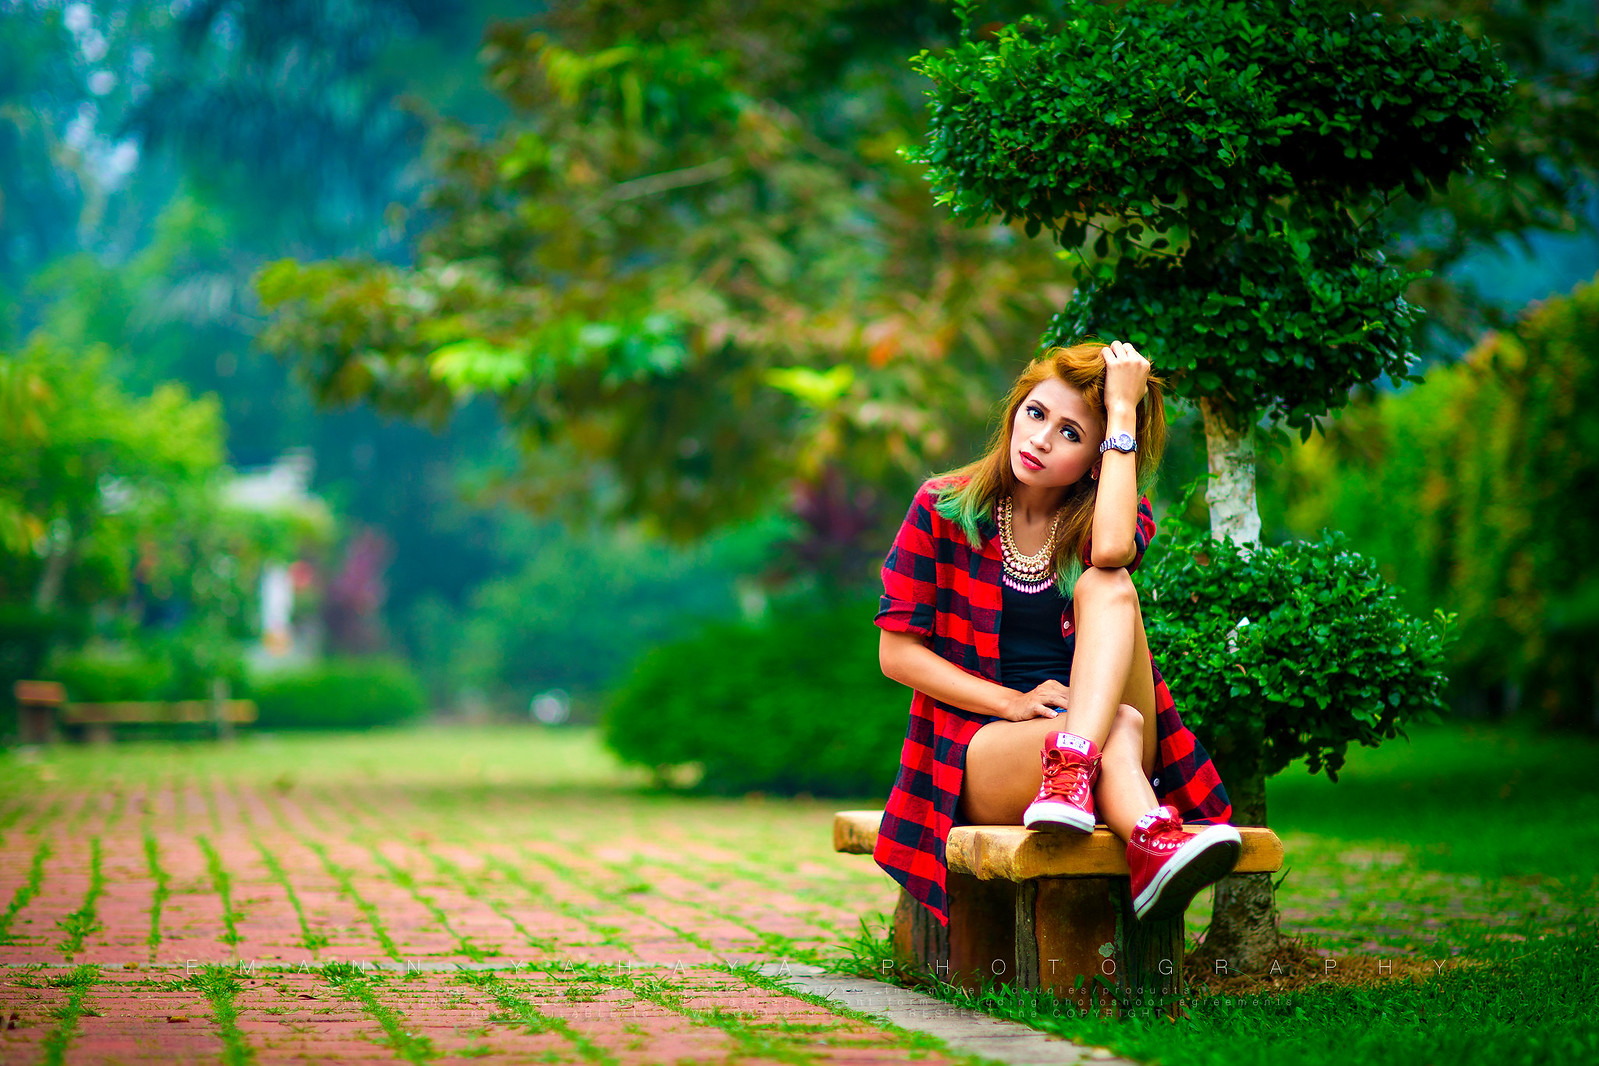
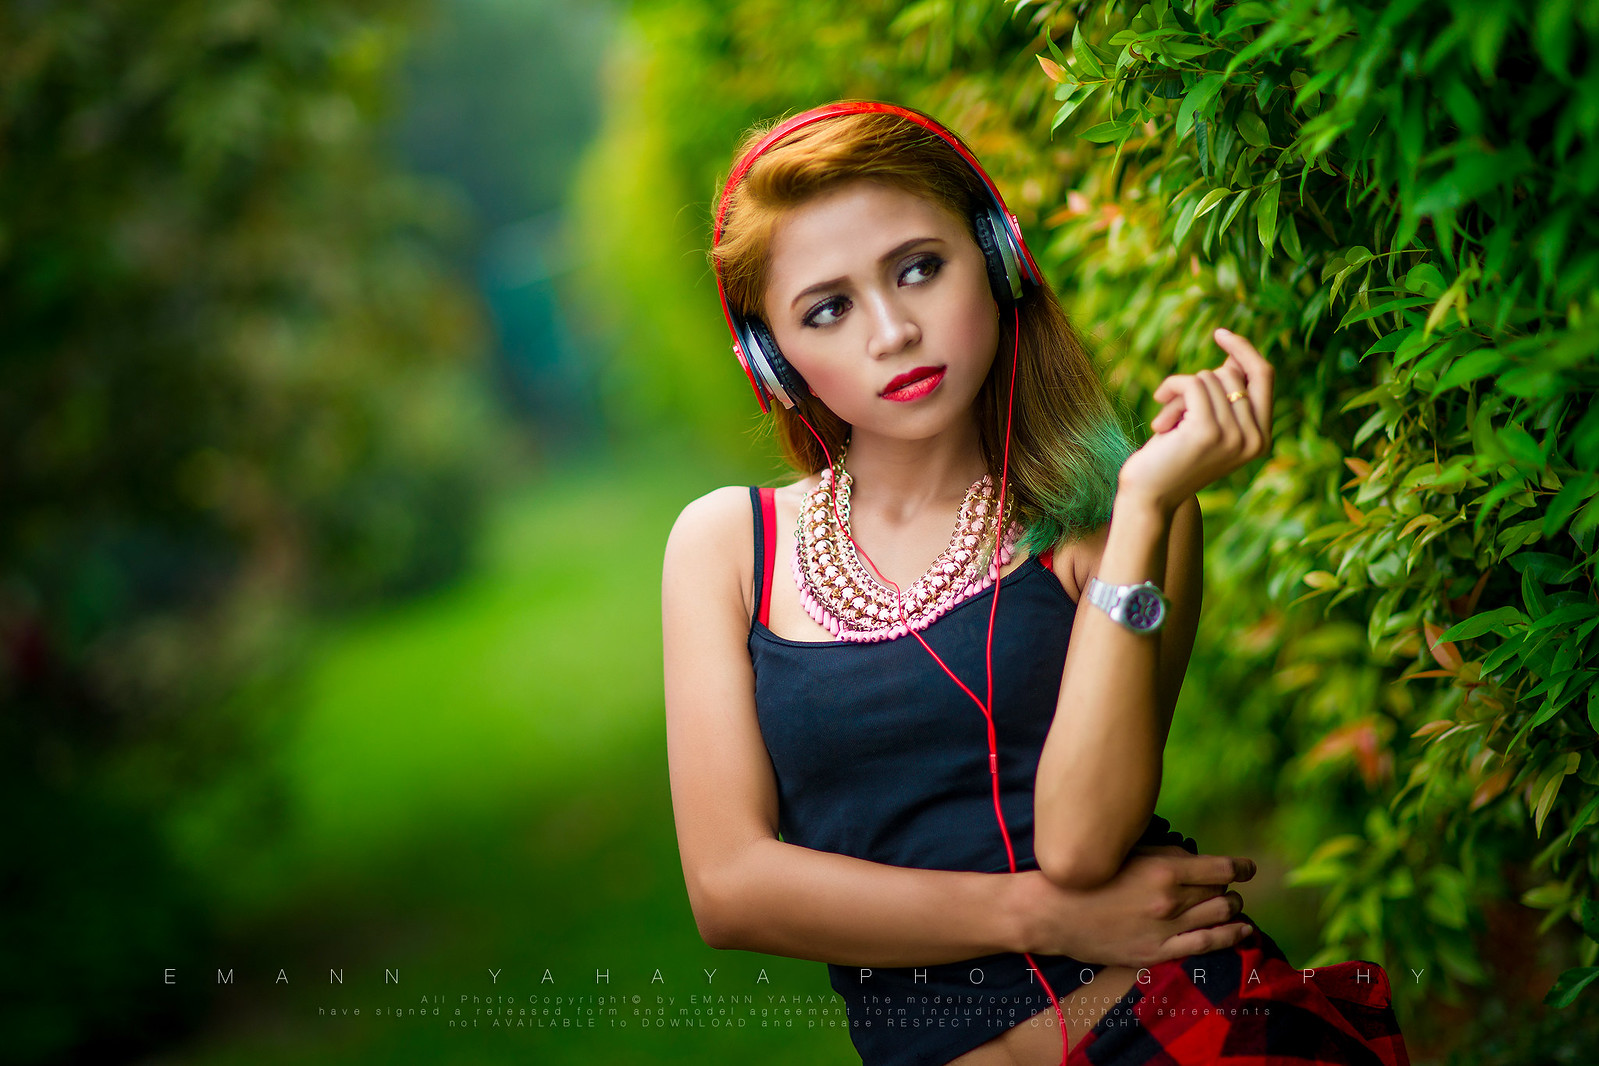
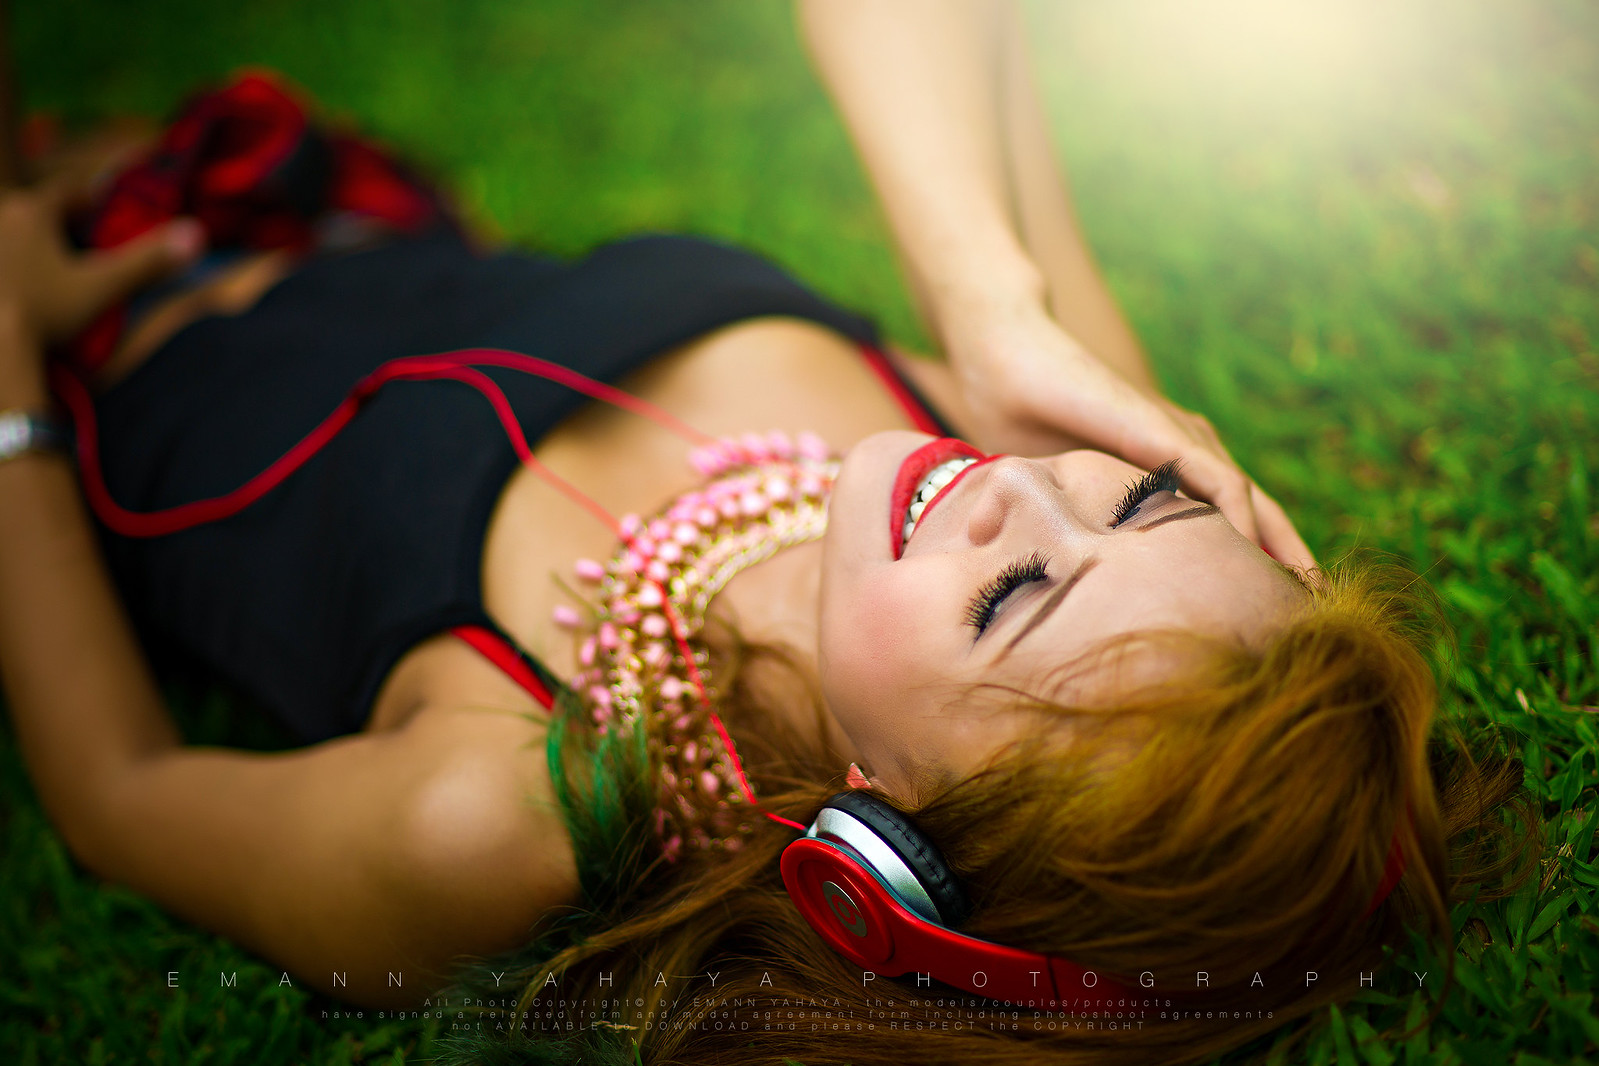
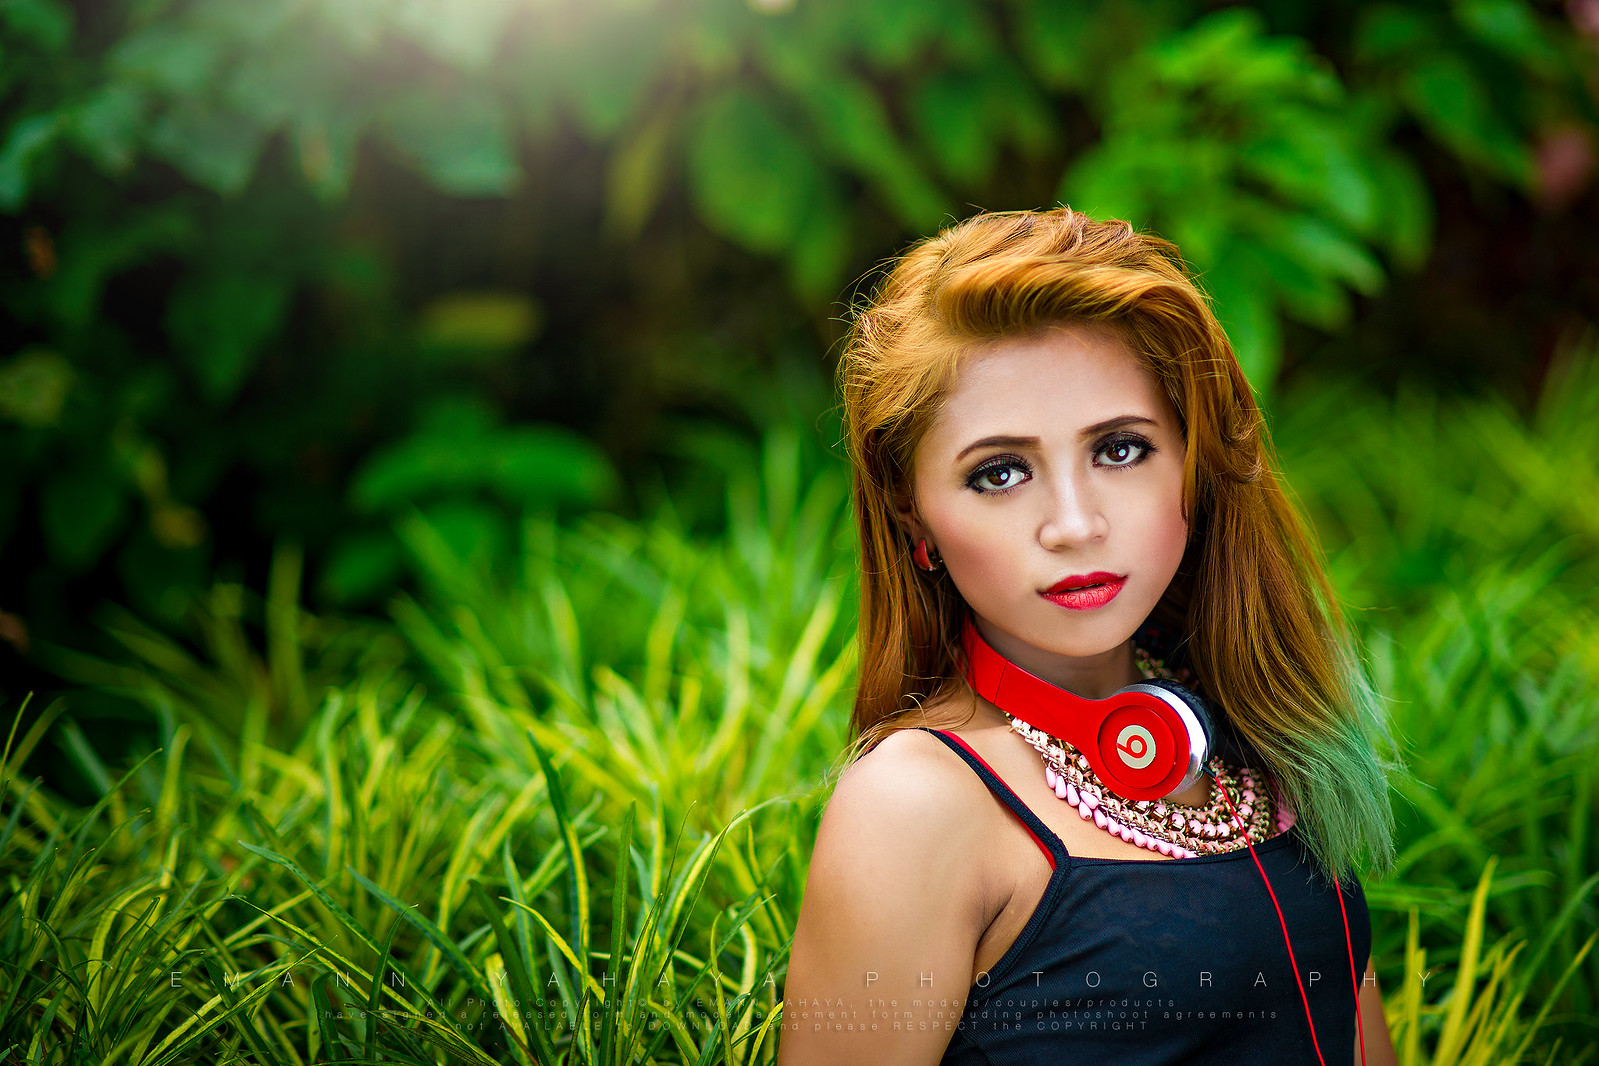
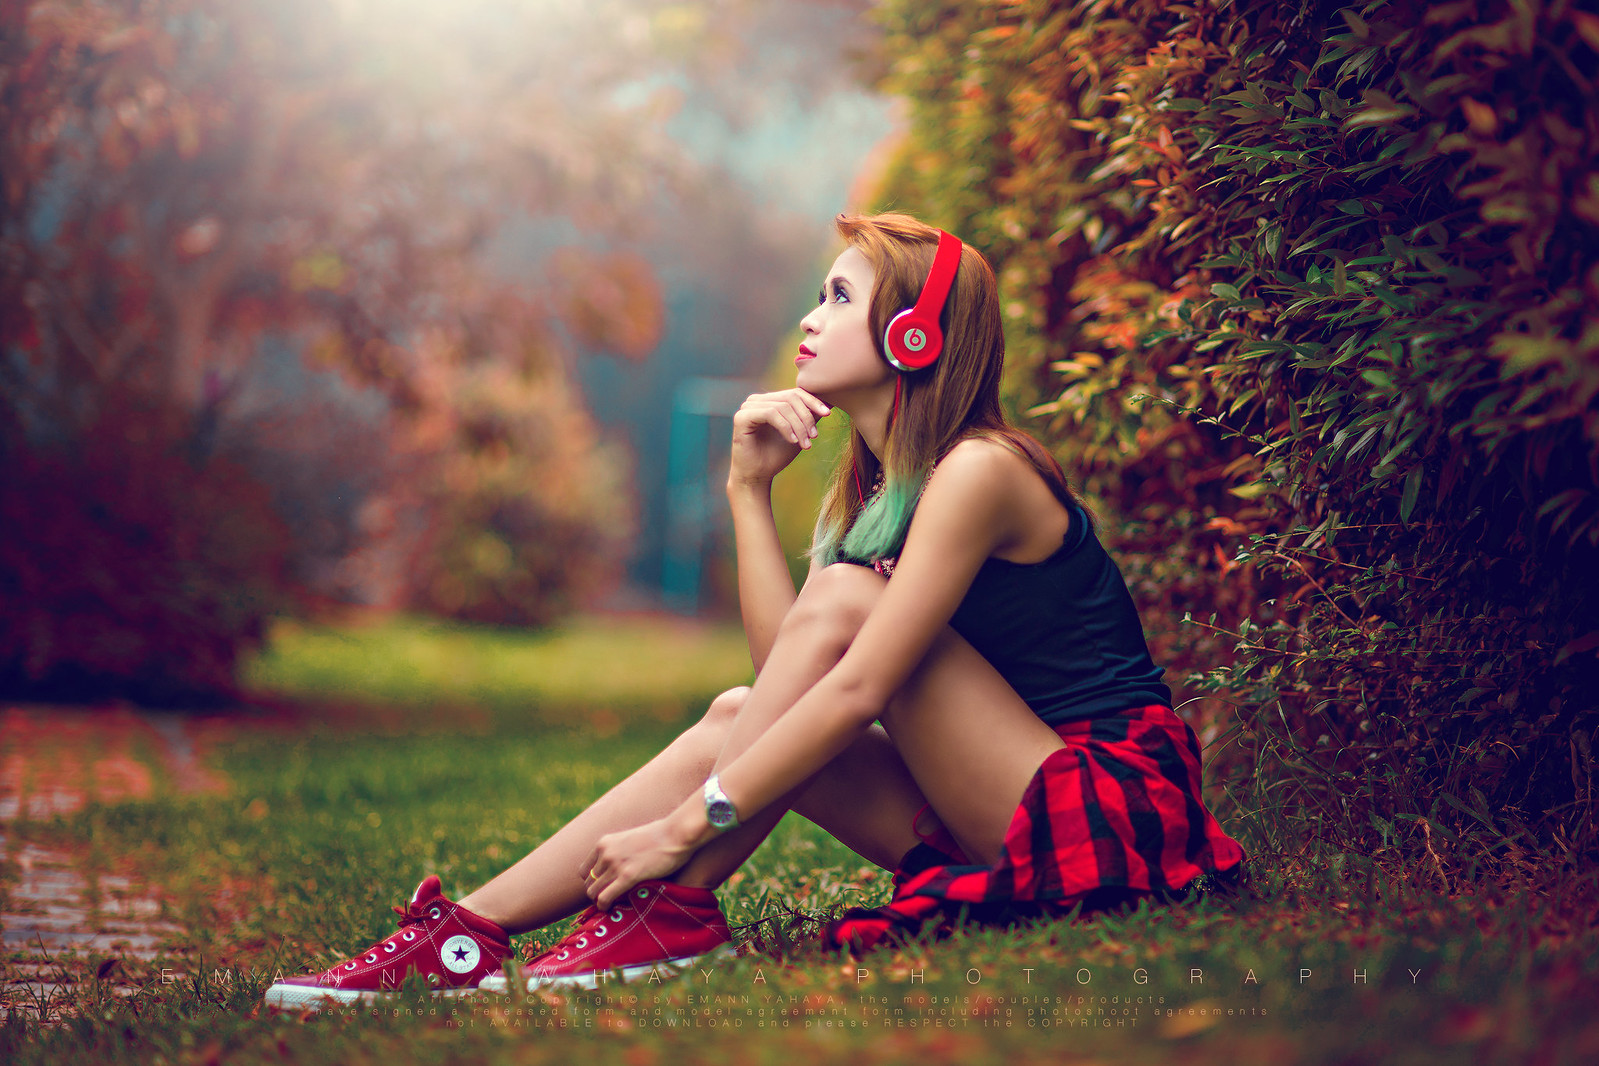
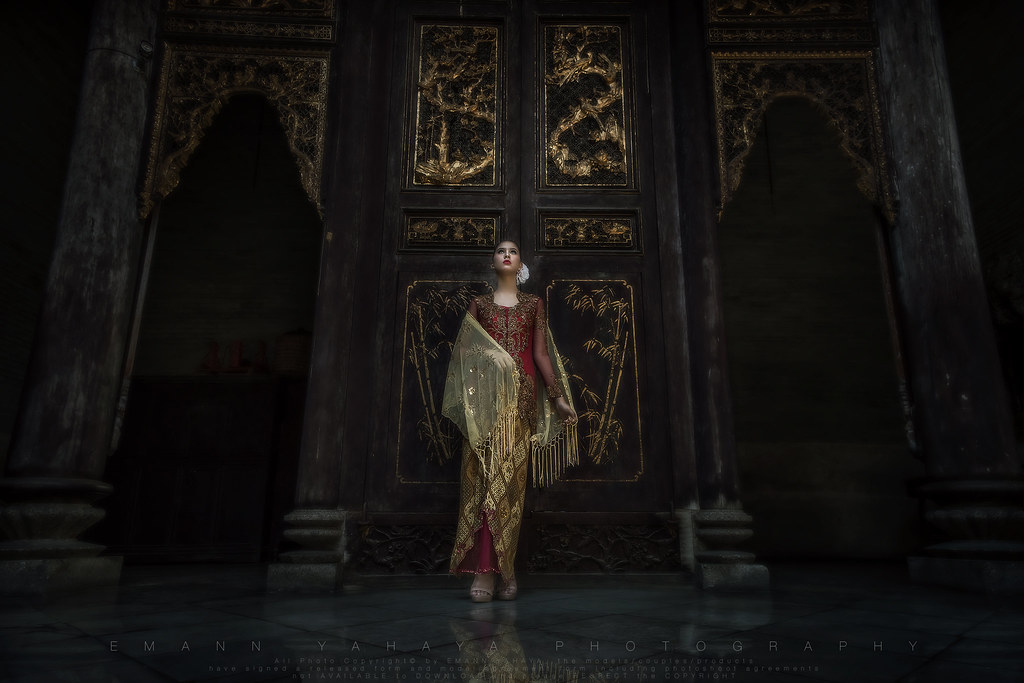
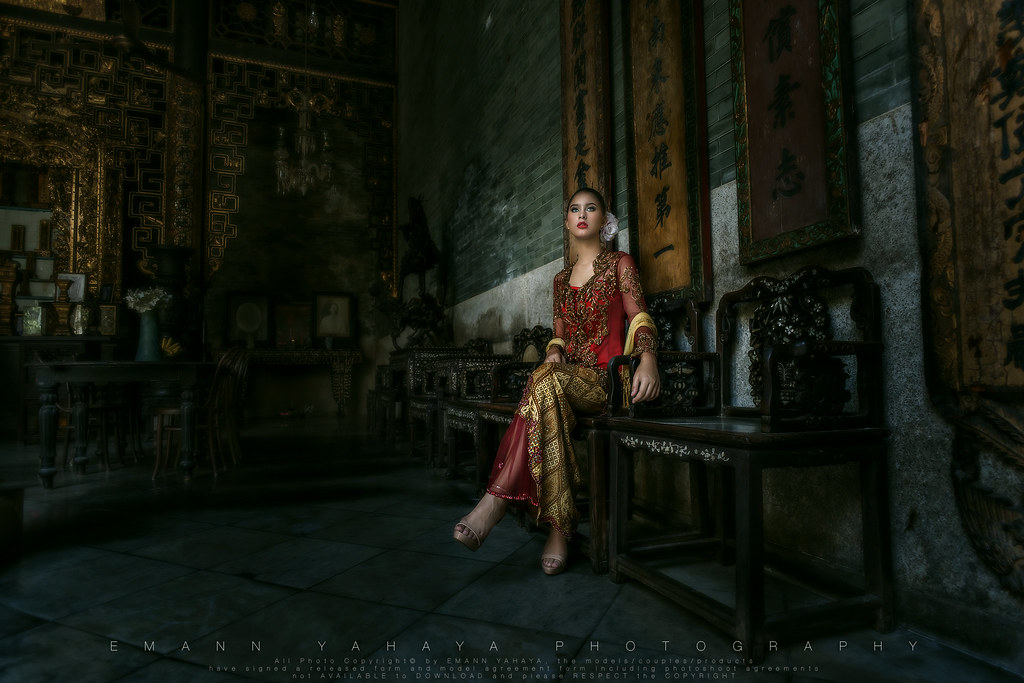
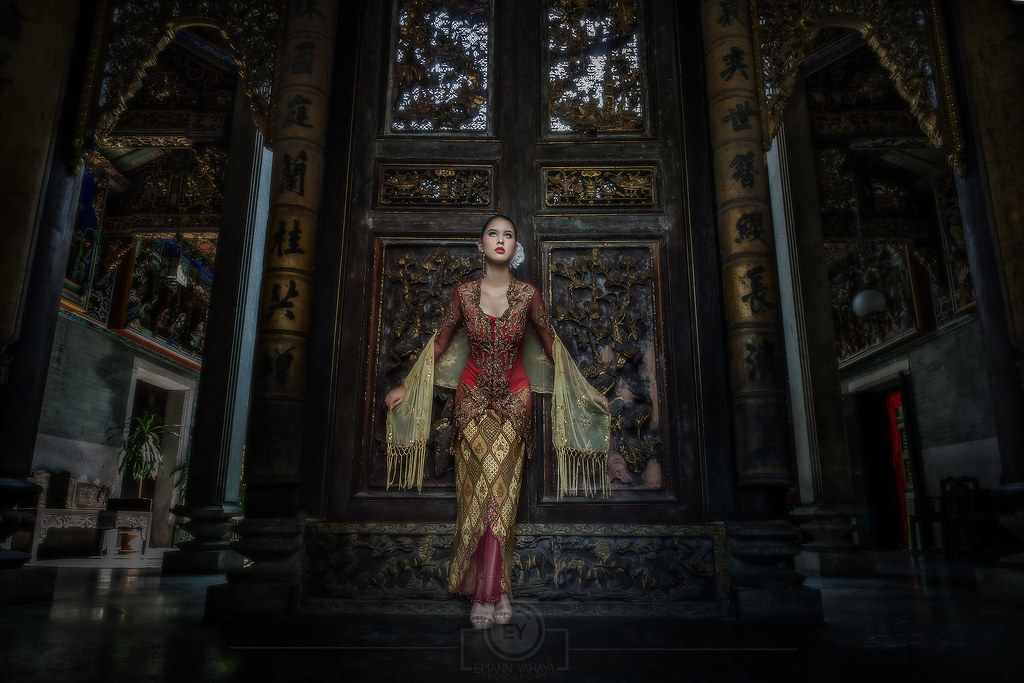
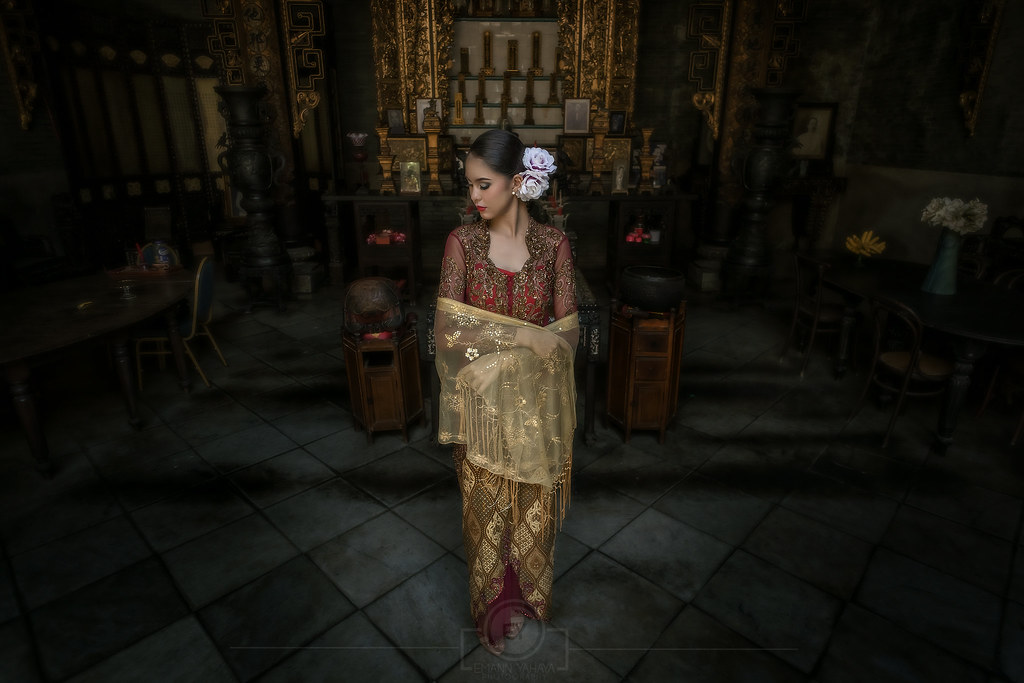
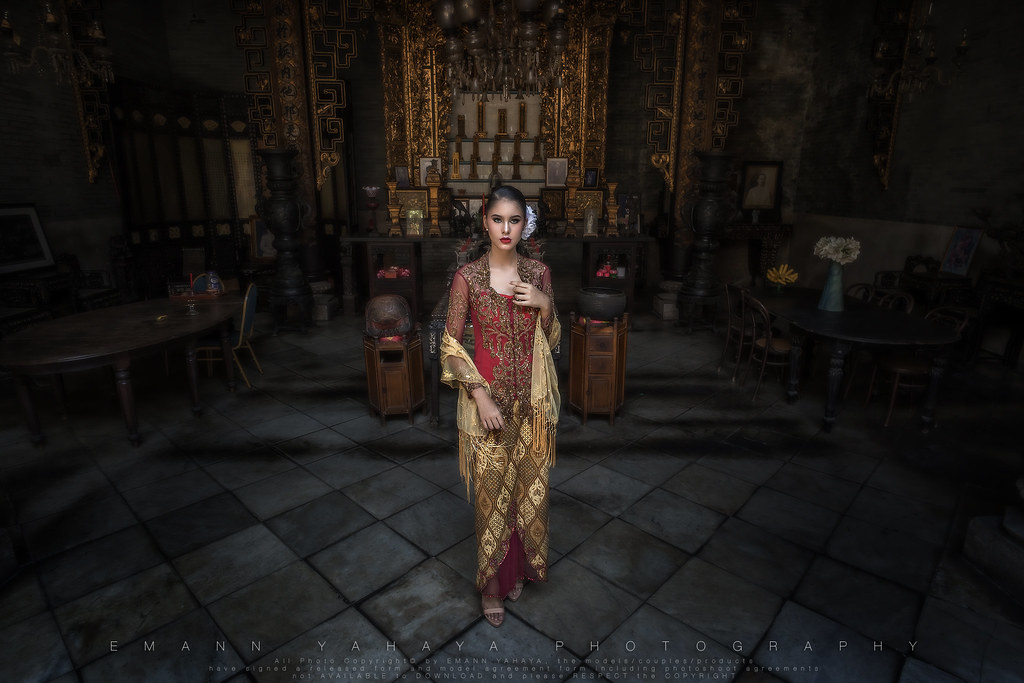
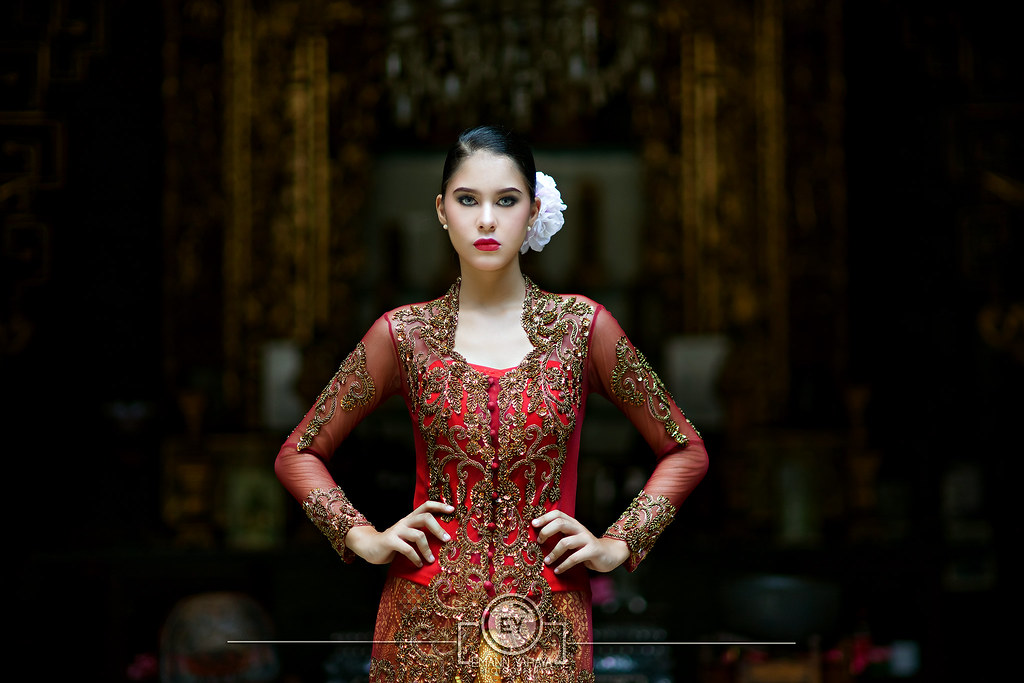
Jadi, belajar lah, tak rugi pun. Ilmu tu boleh digunakan dikala nak release tension. Btw, sesi kali ni aku shoot guna Sony Alpha a99 bersama dengan lens Minolta 20mm f2.8, 85mm f1.4 & 50mm f1.4. Aku memang suka lokasi ni di Peranakan Mansion, Pulau Pinang. Sebabnya aku boleh belajar shoot & edit seperti Manny Librodo & Kevin Pinardy. Syukur alhamdulillah, sekarang ni aku aga versatile. Pernah ja dulu ada individu-individu sindir aku yang aku hanya tahu shoot bokeh semata-mata. wide tak reti langsung. Aku sahut cabaran tu & diamkan individu-individu tersebut dengan hasil kerja aku.
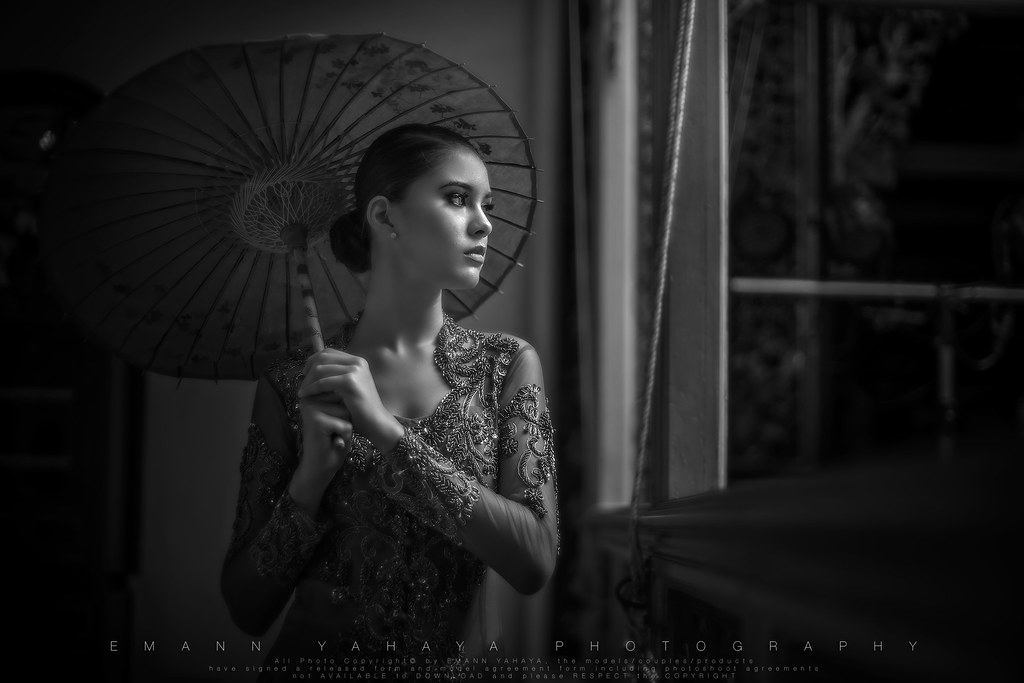
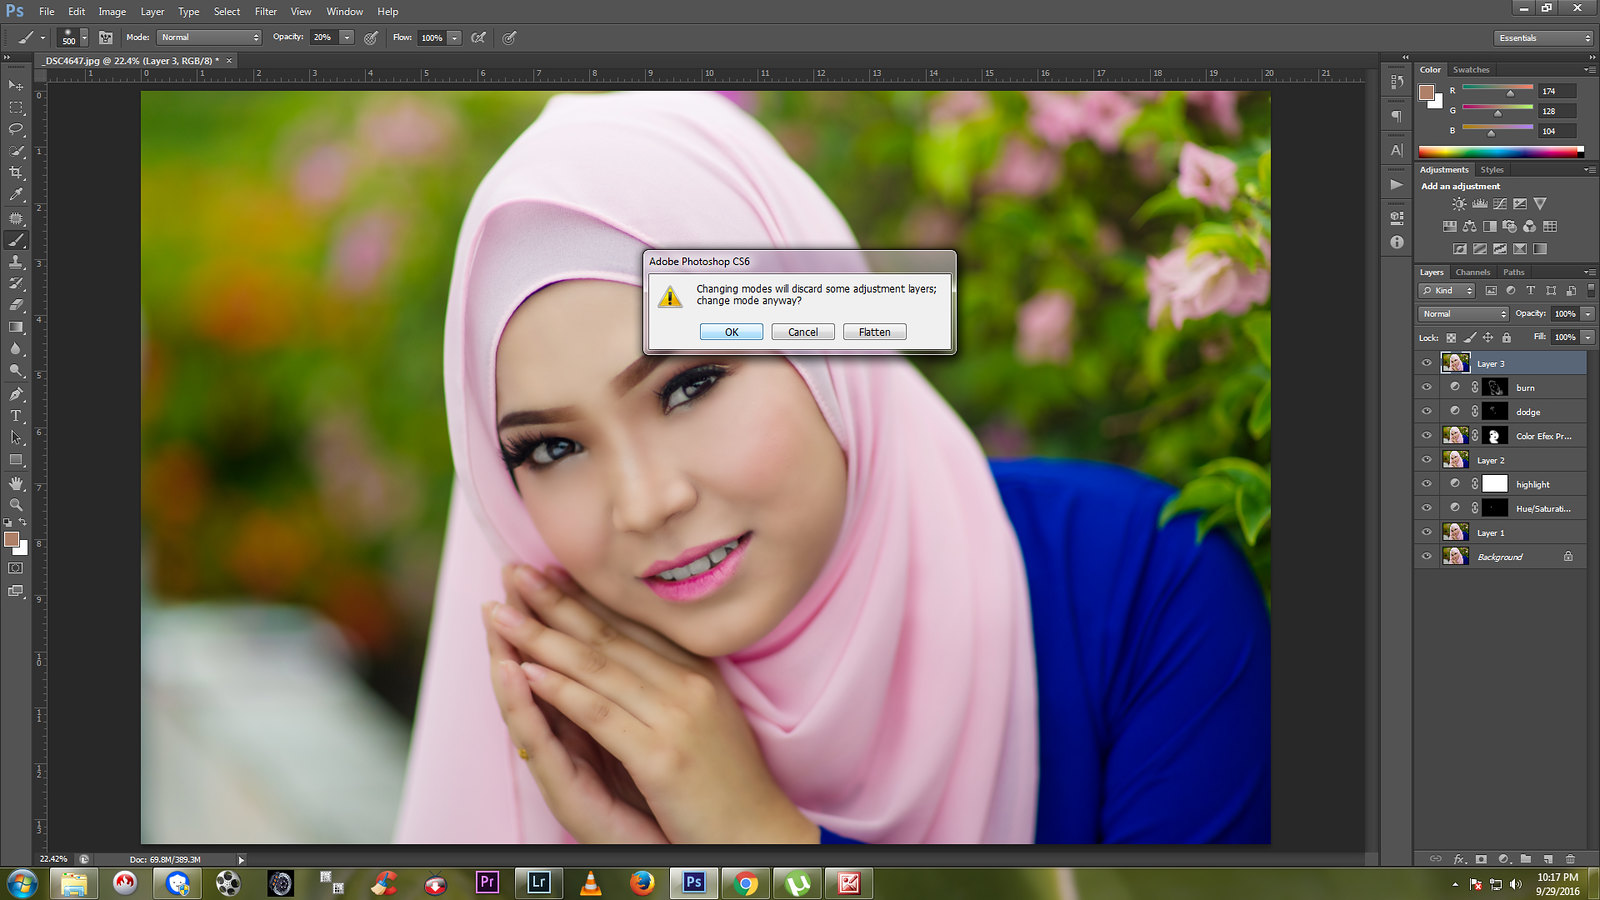
Model aku kalini adalah Zulaika Natasha. Masa mula-mula shoot dulu dia ni keras kayu tapi dia rajin dan mahu belajar. sekarang ni boleh dikatakan dia model hotstuff di Pulau Pinang. Dengan ketinggian dan rupa dia, insyaallah aku yakin dia boleh pergi jauh. Asalkan dia mau.
Akhir kata, macam aku cakap tadi la. Korang nak bagus dalam bidang yang korang buat, korang kena rajin belajar, keluar dari kepompong dan kena ada satu penanda aras. kerja kuat kearah capai benchmark korang tu. Tak mengapa tiru hasil kerja benchmark kita sebabnya kita akan ada signature style kita satu hari nanti. Anyway, semoga berjaya. jangan malas-malas naaaaa :)